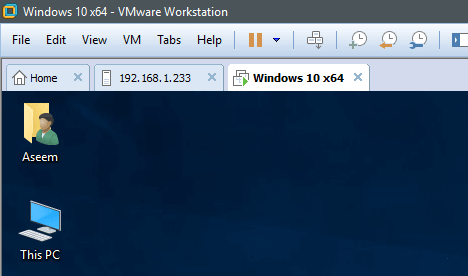
There’s a cool feature in VMware Workstation that basically lets you share your VM from one machine so that you can access it from any other machine remotely. This is great because if you have multiple copies of VMware on different computers, you either had to clone your VM or you had to store your VMs in a central location like on a NAS.
However, neither of those two options are necessarily ideal, especially if you have one high-end machine that you are using to run all your VMs. A clone will take up double the space and the clones will not be synced. Running VMs over the network is considerably slower and not ideal.
By setting up Workstation as a server, you can access the same virtual machine from different computers and use the processing power of the server to run the VM. In this article, I’ll show you how to setup Workstation as a server, share your VMs and how to access them remotely from another computer that is running VMware Workstation.
Step 1 – Enable Workstation Server
By default, you really shouldn’t have to do anything to share a virtual machine as it’s supposed to be enabled by default. However, in my case, it was disabled for some reason and I had to manually enable it.
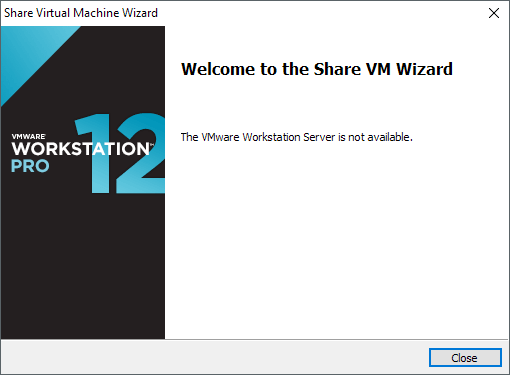
To check this, open Workstation and then click on tab of the VM you want to share. Then click on VM at the top menu, then on Manage and then on Share. If you see the following message, that means the Workstation Server service is disabled.
You can click on Start, type in services and then scroll down to the VMware Workstation Server service. In my case, it was set to Manual and it was not running.
Simply double-click on the service and click on the Start button to start the service. Also, go ahead and change the startup type to Automatic to ensure that it starts after a reboot.
Step 2 – Share the VM
Now open VMware Workstation, click on the VM you want to share and then click on VM – Manage – Share.
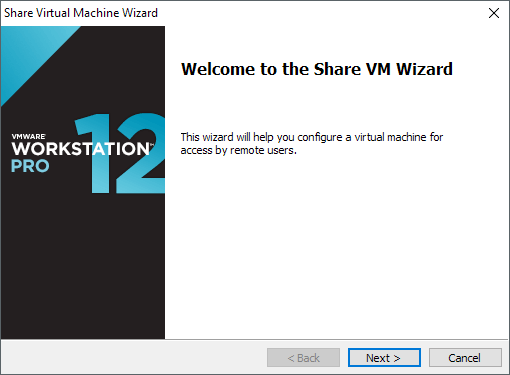
The wizard should start up correctly this time. Click Next to continue.
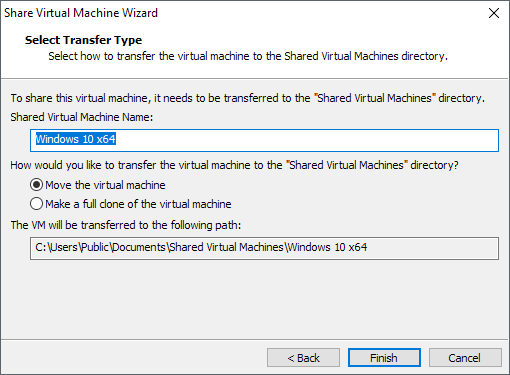
On this screen, you have to give your shared virtual machine a name and you have to choose whether you want to move it to the default shared directory or if you want to clone the whole virtual machine.
Note: When you share a virtual machine, you gain and lose some features. Even though you gain remote access, you lose the following features: unity, shared folders, auto-protect, drag and drop, copy/paste, thin print, 3D acceleration, and the ability to connect USB devices connected to the host to the virtual machine.
Click Finish and the process should complete fairly quickly. You’ll see a couple of checkmarks as confirmation.
Step 3: Remotely Access VM
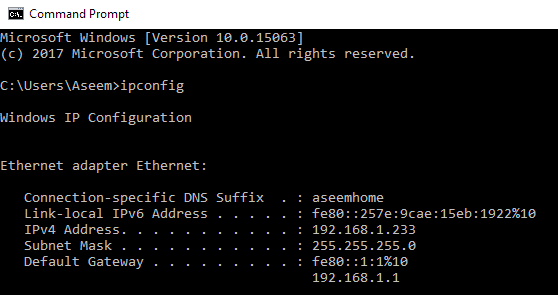
To access your shared VM remotely, you need to know the IP address of the computer acting as the server. You can do this easily by clicking on Start, typing in CMD and then typing ipconfig in the command window.
Now go to the other computer that has VMware Workstation installed and click on the Home tab.
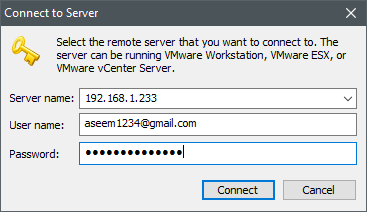
You’ll see a button that says Connect to a Remote Server. Click on that option and you’ll get a small dialog that asks you the server name, the user name and the password.
The server name can be either the IP address or the hostname of the computer. The username and password needs to be of a local administrator account on the server computer. If you are logged into that computer using your Microsoft account, you can use that login info to connect.
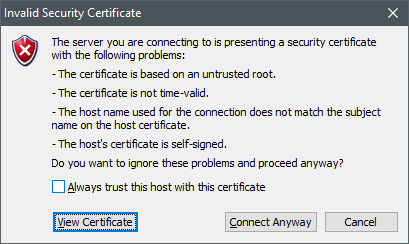
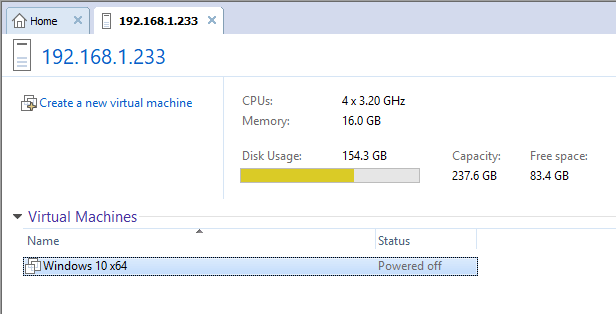
When connecting, you may see a dialog that warns you about the security certificate on the server. This is normally not a security issue (as long as you trust that computer) and you can click on Connect Anyway. If all works well, you should see the following screen in a new tab.
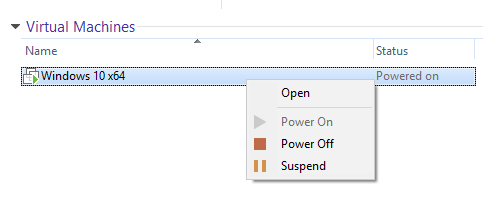
At the bottom, you should see all the virtual machines that you are currently sharing. In my case, I only shared one Windows 10 virtual machine. Click on it and then click the green play button to power it on. You can also right click on it to start it. Note that once it is powered on, you still have to right-click on it and choose Open to view the remote VM in a new tab.
Now you can use that VM as if it was running locally on your machine. Over a local area network, it works very well and I didn’t experience any lag or delays.
By default, the shared directory where shared VMs get saved is C:\Users\Public\Documents\Shared\Virtual Machines\ and the default port it uses to connect to the remote server is port 443. If you want to change either of these settings, you can do so by going to Edit – Preferences and clicking on Shared VMs.
Note that you should probably make these changes before you share any VMs because it can only be changed when there are no active shared VMs. If you want to change it, you have to first stop sharing each VM, which moves it out of the shared VM directory.
If you change the port number, when connecting from the client computer, you have to type in the hostname followed by a colon and the port number. For example, it would be 192.168.1.233:8000 for me if I was using port 8000 instead of 443. You can change the port number to increase security.
If you run into any problems or issues, feel free to post a comment and I’ll try to help. Enjoy!

