While your organization may use Office 365 for all of their email and productivity needs, you may have other devices outside of the Microsoft ecosystem, like an iPhone or Mac computer, where you would like to access your data.
While Exchange works exceptionally well with Microsoft Outlook, it’s not the only option when it comes to accessing your email. In this article, we’ll talk about how you can access Exchange email through the mail app on a Mac computer or an iOS device like an iPhone.
Of course, this will only work if your administrator doesn’t restrict the types of devices that can be used to connect to the Exchange server, so it’s a good idea to talk to IT in case you run into issues with the steps below.
Configure Office 365 Email on macOS Mail App
Step 1: Open the Mail app on your device.
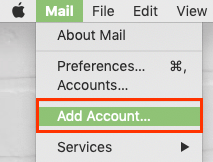
Step 2: On the menu bar, click on Mail and select the Add Account option.
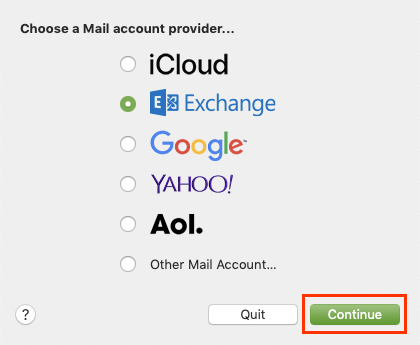
Step 3: Select the Exchange or Microsoft Exchange option and click on the Continue button.
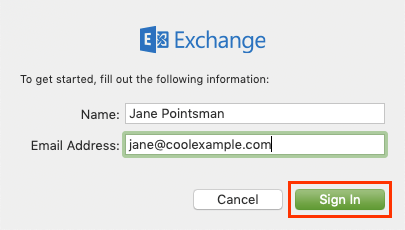
Step- : Enter your name and your Microsoft email address in the text box and click on the sign-in button.
Note: You may need to select the account type as school or work.
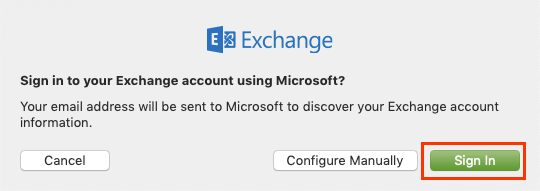
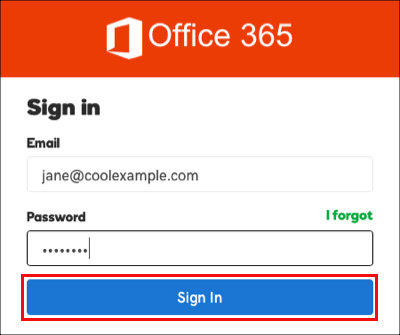
Step 5: To let Microsoft locate your email address and account information, click on the Sign In button.
Notes:
1. If multi-factor authentication (MFA) is enabled, follow the prompts to set up an account otherwise verify your account by using the MFA method. If the security by default is enabled, set the MFA in the Microsoft Authenticator App.
2. If Microsoft doesn’t automatically connect to your email server, you’ll need to enter the details manually:
- Username: Microsoft 365 email account
- Password: Microsoft 365 email password
- Internal URL and external URL.
Step 6: You need to enter your email and password on the Microsoft 365 sign-in page.
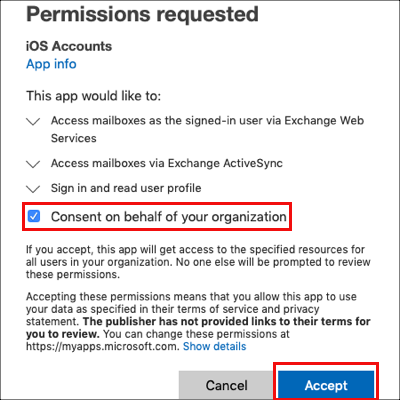
Note: You may need to accept some access permissions related to Microsoft 365. Select the option Consent on behalf of your organization and click on Accept.
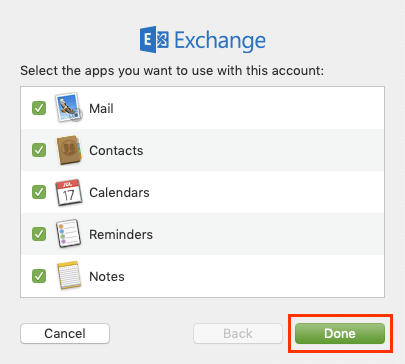
Make sure to check the boxes for the type of content you want to download to your local device. Click on Done.
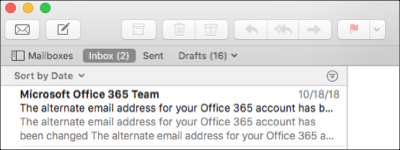
Step 7: Your account will be displayed and emails will start loading in a few minutes.
Setting Up Office 365 Email on iOS 10 and Later
You can also configure the Mail app to access the Office 365 email on your iOS device and set up an Exchange connection. Follow the steps below to get your Exchange email working on your iPhone or iPad.
Method 1
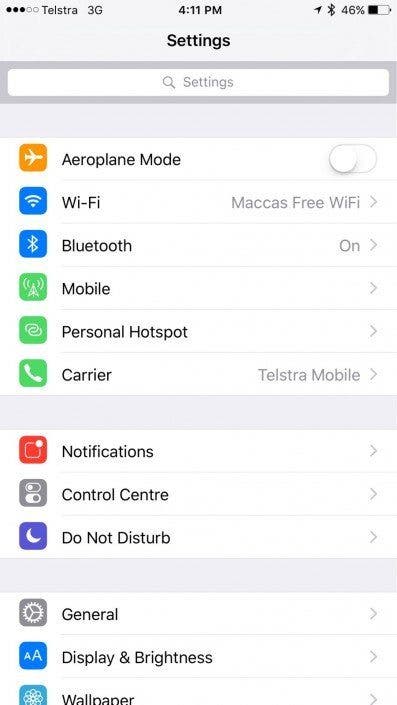
Step 1: Tap on Settings on your iOS device.
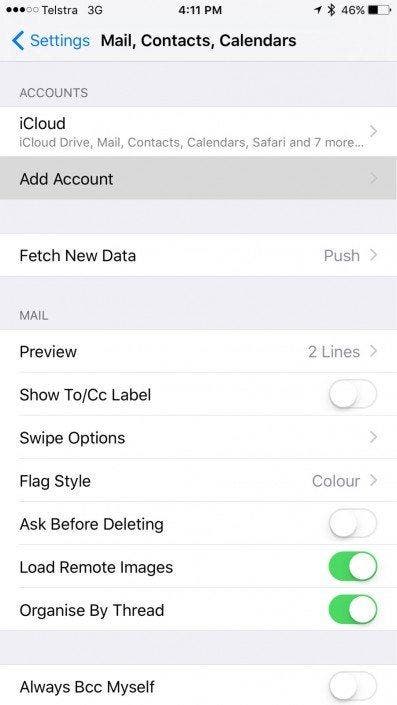
Step 2: Scroll down and tap on Mail, Contact, Calendars option. In newer versions of iOS, it’s just Mail.
Step 3: Tap on the Add Account option to add your Office 365 mail account. In newer versions of iOS, you may need to tap on Accounts first before getting to this screen.
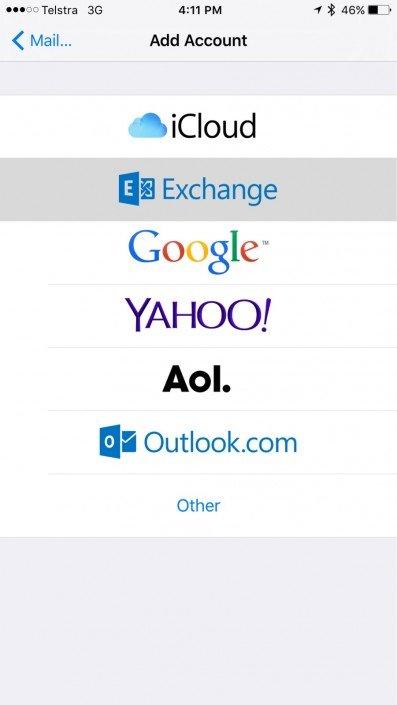
Step 4: Tap on the Exchange or Microsoft Exchange option.
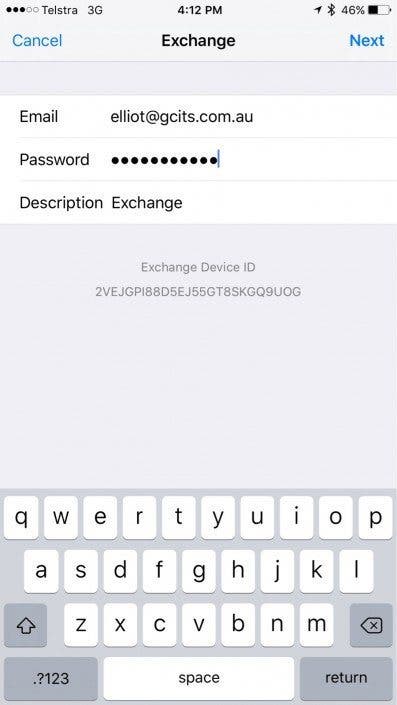
Step 5: Enter your Office 365 email address and password and click on the Next option.
Step 6: Wait until it shows that your account is verified. If you have any issues at this point, you will need to contact the administrator of your Exchange server to see if they have blocked access from certain devices, etc.
Step 7: Select items such as mail, contacts, calendars, reminders, and notes to synchronize these apps with your iPhone or iPad.
Step 8: Open the mail app on your iOS device to check your new mail account. The calendar will appear under the calendar App and contacts will appear under the contacts app.
Method 2
For minimum Office 365 email service, you can stop here but it is recommended to set up Outlook as well for the best experience. Microsoft Outlook is designed to allow users in an organization to bring together email, contacts, calendars, and files on their iOS device. Outlook is one of the best email apps for the iPhone.
Step 1: Open up App Store, search Microsoft Outlook, and download it.
Step 2: Open Microsoft Outlook and click on the Get Started button on the welcome screen.
Step 3: Enter your Office 365 email address and click on Add Account. This app handles mails seamlessly and does two-step authentication. Your 365 Office mail will be added to the Outlook app.
Step 4: Once added, you can configure some basic settings for your email account. The Focused Inbox will separate your email into two tabs: one for important emails and the other for everything else.
You can adjust your notifications and also choose what you would like to happen to an email when you swipe on it. By default, emails are organized by thread and links are previewed. For safety, it’s a good idea to turn off Link preview.
Conclusion
While Microsoft and Apple have their own proprietary ecosystems when it comes to email and email clients, they do work fairly well together. Accessing your Exchange email on a Mac or iOS device is a fairly straight-forward process and works well.
If you need additional security and more features, download the Outlook app for iPhone to get the best experience.

