Hello and welcome to an article that focuses on installing and configuring NGINX as a reverse proxy.
This is a technical oriented document so we won’t discuss the design and reason behind using a reverse proxy. Instead, we will dive straight into the configuration and set up our NGINX reverse proxy.

First of all we need to install CentOS or Ubuntu servers, latest releases are OK, and on top of that we will install the NGINX reverse proxy.
Configure NGINX Reverse Proxy in CentOS
In my case I am using CentOS 7.
So after we login, we need to run the following commands to enable the repository and install NGINX:

# yum install epel-release
This command adds the repositories where the NGINX packages are located.
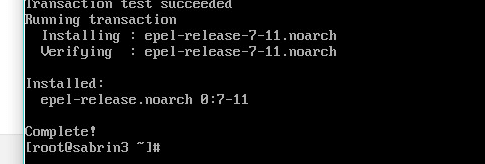
Once the command completes, we should be greeted with the “Complete!” output.

The next command we need to run is:

# yum install nginx
This command actually installs the NGINX package and enables it.
Our next steps are to enable the NGINX service, start the service and add some firewall rules.
We need to follow the commands in the following order:
# systemctl enable nginx
# systemctl start nginx
# firewall-cmd --permanent --zone=public --add-service=http
# firewall-cmd --permanent  --zone=public --add-service=https
# firewall-cmd --reload
The first two lines enable the service and start it. The next lines add HTTP and HTTPS exclusions to the firewall and reloads the firewall configuration to apply the changes.
Now we can check if everything is running OK by going to the IP or hostname of the server to see if we get the NGINX splash page.

It worked! Next let’s configure it as a reverse proxy.
For that we need to change the default configuration file. For that to happen, we will need to run this command:

# vi /etc/nginx/nginx.conf
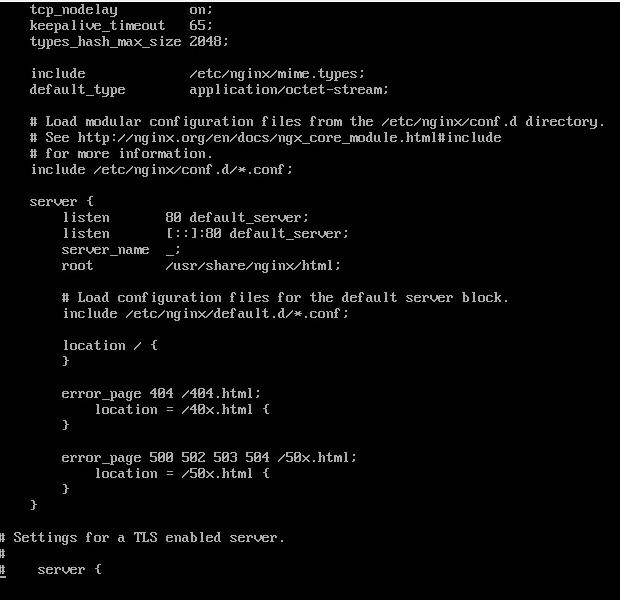
Now once the file is opened for editing, we hit the INSERT key and look for the following configuration block:

As you can see in my case, by default it’s listening on port 80. Now to configure the reverse proxy under the location block, we just add the following line in the curly braces:
proxy_pass http://applicationserver;
Where applicationserver is the IP of the web server that you want to forward to the packets to.
It’s that simple!
Another thing to take notice of is the location block. As you can see there is one forward slash. That means that all the requests passed to the NGINX server will be forwarded to the backend host.
We can specify several locations each going to another host, but that’s something that we will cover in a later article.
Thank you for your time and I hope you enjoyed reading the article!


