Once you have installed VMware ESXi onto a server, you’ll need to add your license key via the web interface. Otherwise, you’ll only be using the trial version, which lasts for 60 days. If you’re downloading the free version of ESXi, you can get the license key by visiting the evaluation page for ESXi.
You will need to register with VMware in order to view the license key, but if you already downloaded ESXi, then you should already have an account setup. Once you login, click on the License & Download tab to view the key.
Once you have the key, load up the web interface and enter your login credentials.

When you are logged in, you’ll see the ESXi management interface. You should also see a message stating that you are using the software in evaluation mode and that it will expire in 60 days.

To add a license to ESXi, you need to click on Manage under Host in the Navigator in the left-hand pane. Click on the Licensing tab and then click on the Assign license link.

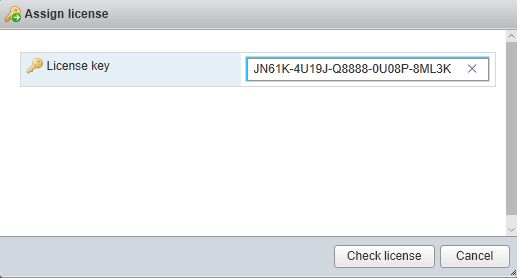
In the popup dialog, go ahead and copy and paste the license key into the textbox and then click on Check license.
It should give you a green checkmark and then tell you that the license key is valid for VMware vSphere X Hypervisor.

Click on Assign license and you are done. If you ever upgrade your license to a paid product like ESXi Essentials, you can just come back to this page, add the new license and remove the old one. Enjoy!