In my previous post, I went through the steps for creating a bootable USB installer for ESXi and in this post, I’m going to walk you through the steps for installing ESXi from USB to a bare metal Dell PowerEdge server.
As mentioned in my previous post, you can install using an optical drive, remotely via iDRAC or even from an SD card, but the easiest method in my view is using a fast USB stick. If you’re using different server hardware, like an HP Proliant server, etc., the installation procedure will be exactly the same. The only difference is that you’ll need to figure out how to boot from USB on your server.
Install ESXi from USB Drive
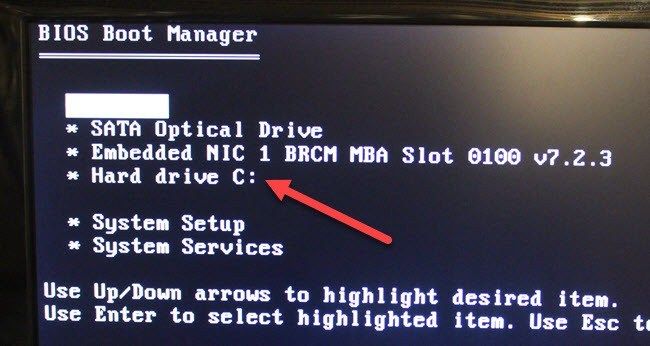
Booting up from a USB drive on a Dell PowerEdge server is pretty easy. First, make sure you connect the USB drive to the server before booting up. Next, when you turn on the PowerEdge server, you should see a couple of options at the top right. You’ll want to press F11 on the keyboard to open up the BIOS Boot Manager.
On the following screen, arrow key down to Hard drive C: and press Enter. This will bring up another dialog where you can choose the USB flash drive.
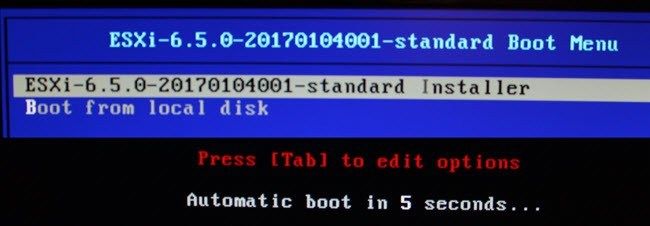
When you choose the USB drive, it should bring up an ESXi standard boot menu and the standard installer should automatically be selected. If you don’t press Enter, the ESXi installer will load up automatically after a few seconds.
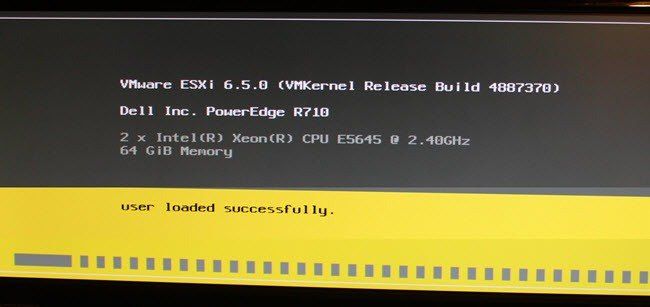
You know the ESXi installer is running when you see the familiar gray and yellow split screen. It might take a minute or two to load during this stage.
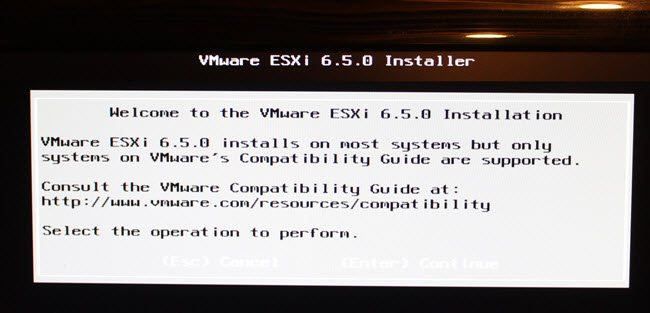
Once loaded, you should see the Welcome to VMware ESXi X.X.X Installer. To continue with the installation, go ahead and press Enter.
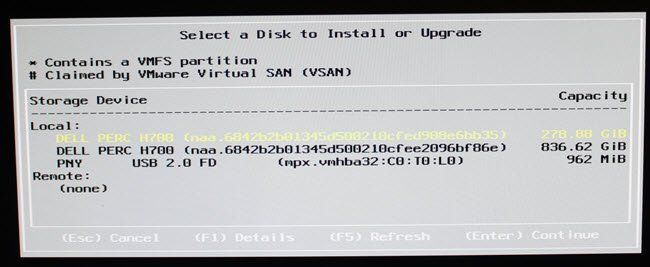
The first thing you actually have to do is pick the disk that you want to install ESXi onto. If you’re using a server, you probably have some sort of RAID setup already. If not, you’ll want to go into your RAID controller setup and create your RAID arrays first.
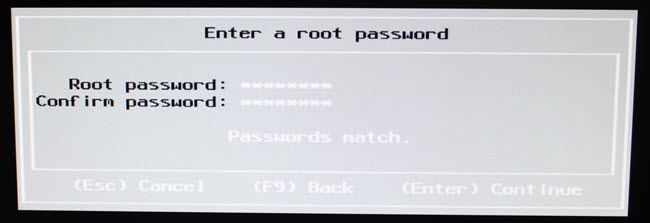
In my case, I have 6 300 GB SAS drives. Two of them are in RAID 1 config and the other four are in RAID 5 config. I choose to install ESXi to the RAID 1 set so that there is some redundancy in case of hard drive failure. Next, you’ll have to select a keyboard layout and then enter a root password for the install.
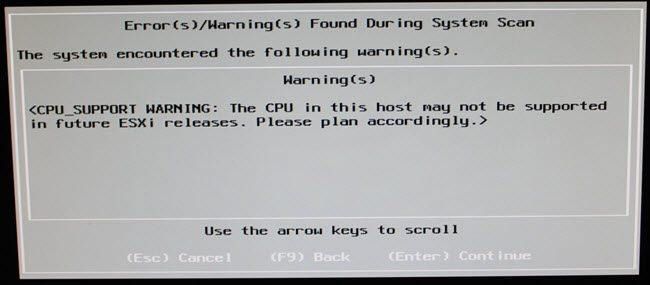
Make sure you don’t forget or lose this password as it’s going to be what you need to log into ESXi on the server. When you continue here, you might get a message stating that the CPUs in your server may not be supported in future releases. This isn’t an issue for me since it’s a lab setup, but could be pretty important for a production server.
Up to this point, we still haven’t actually installed anything yet. On the next screen, you have to press F11 to confirm the install. The installer will repartition the drive during the install process.
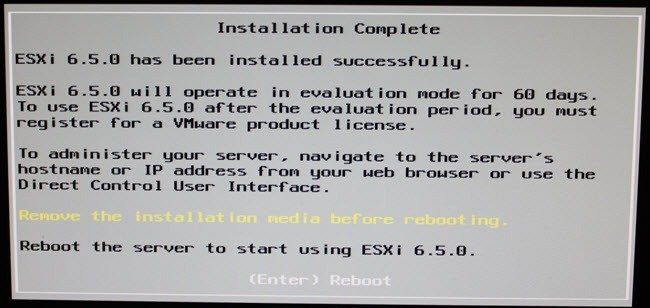
You’ll get a message once the install is complete and you have to remember to remove the USB stick from the server before rebooting.
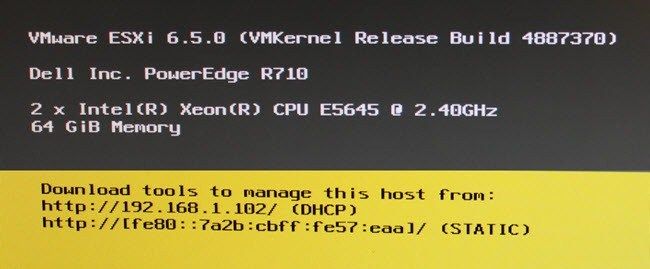
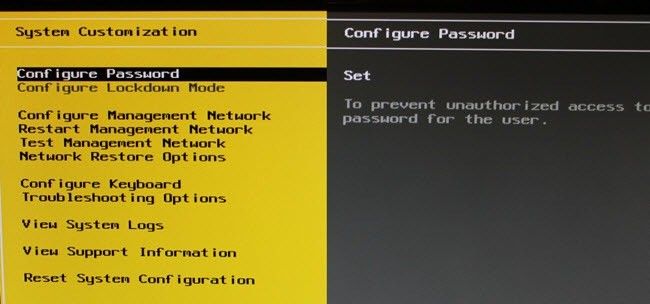
Once ESXi has finished loading, you’ll simply get a screen that tells you where to download the tools to manage the host. You can also press the keyboard shortcut listed (F2) to bring up the System Customization screen.
You’ll first want to set a static IP address to instead of using a DHCP IP address for the ESXi installation. I’ll be going through all the customization screens in my next post on ESXi.
That’s about it! Installing VMware ESXi is a fairly painless process most of the time. If you run into any issues or problems, feel free to post a comment here and I’ll try to help Enjoy!


