If you’ve been using VMware Workstation for a while, you’ve probably upgraded to newer additions as they have come out. I started off with VMware Workstation 8 several years back and am now on version 12.
When you upgrade to a new version of VMWare Workstation, it doesn’t automatically upgrade the hardware compatibility for each virtual machine you have installed. This is smart because a hardware compatibility upgrade could cause your VM to not boot up anymore.
So even though upgrading the compatibility might add new features and have your VM run smoother, it also could do just the opposite. Luckily, the program has several options that make the process of upgrading very safe. In this article, I’ll explain how to perform the upgrade and how to be sure you don’t ruin a perfectly well-running VM.
Upgrade Hardware Compatibility
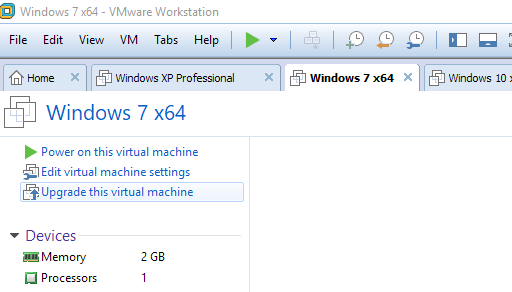
Open VMware Workstation and click on the virtual machine you want to upgrade. If the VM is running on an older version of the hardware compatibility, you’ll see an Upgrade this virtual machine option. This will not be visible if it’s already on the latest version.
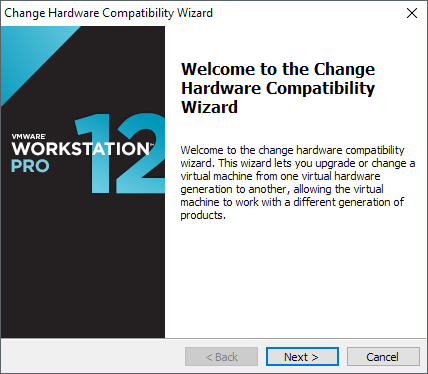
Click the link and you’ll get a popup wizard. Click Next to start the process.
On this screen, you have to choose which version you want to move the virtual machine to. Click on the drop down and select the version. Most of the time, you’ll be choosing the latest version, but you can also choose older versions if you need to.
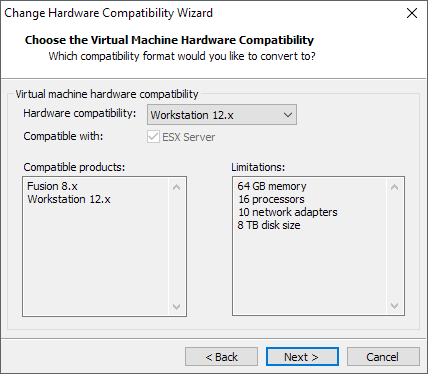
At the bottom, it’ll tell you which products are compatible with that version and the limitations for that particular version also. Click Next and you’ll now have to choose whether you want to clone or alter the VM.
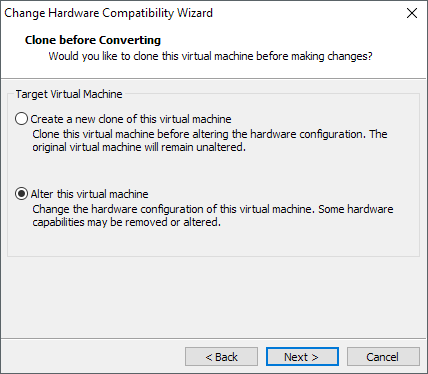
If this is a very important VM and you can’t afford to have anything go wrong, then make sure to choose the Create a new clone of this virtual machine, which will copy the whole thing and then try to upgrade it. This will obviously take a lot of space, but you can always remove the clone later if everything goes OK.
The second option, Alter this virtual machine, will simply upgrade the current VM without creating a backup. This is obviously more risky, but I’ve used it every time on my personal VMs and have never run into any issues or problems.
If you plan to use this method, another safe option is to create a Snapshot of the VM right before you perform the hardware upgrade. If the upgrade fails for any reason, you can simply revert to the last snapshot and it’ll work just fine.
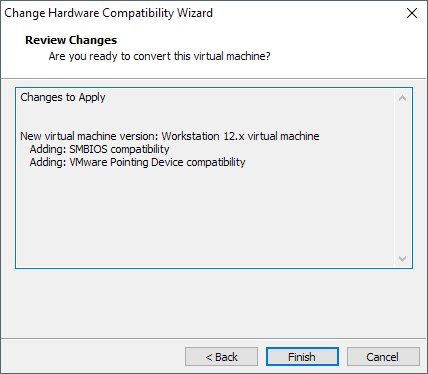
Click Next and the following screen will show you a list of new features that are being added. Click Finish and the process should be done within just a few seconds.
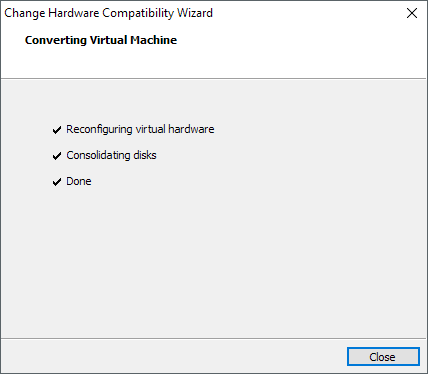
Click Close and you’re done. Your VM should now be upgraded and you can test it out by powering it on. You may also find new settings or options when you go to the VM settings dialog.