
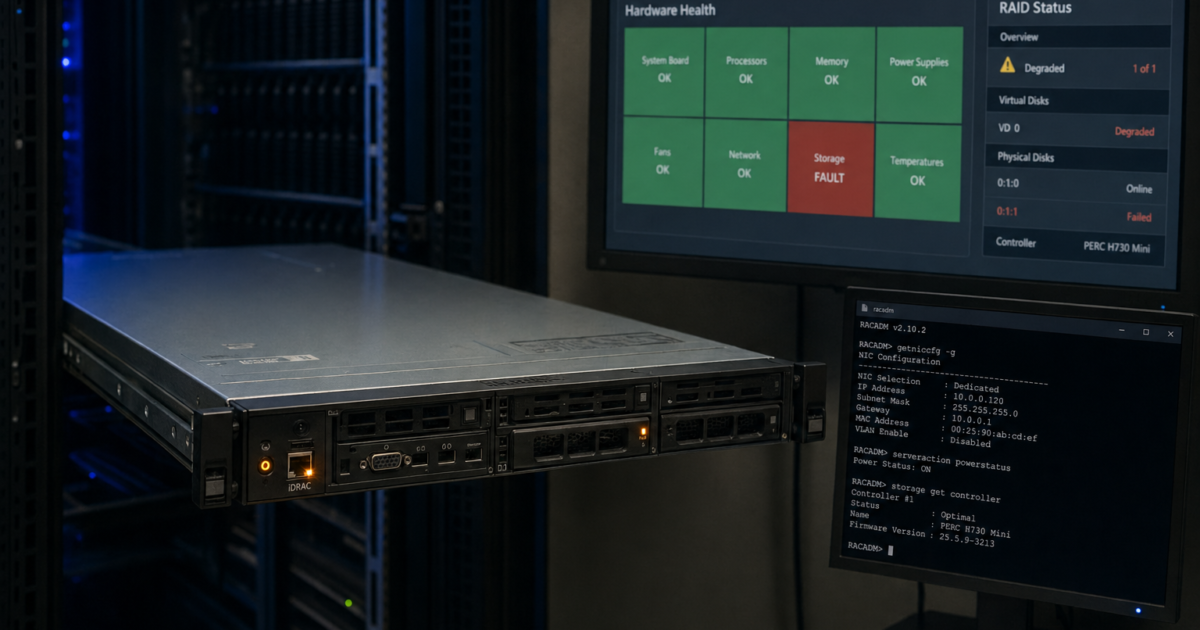
Dell iDRAC 9 is the out-of-band management backbone of every modern PowerEdge server — but getting the most out of it starts with understanding what it is, what your license tier unlocks, and how to reach it for the first time. Whether you’re standing up a brand-new server or trying to regain access after a network misconfiguration, this first part of our complete iDRAC 9 runbook series lays the essential groundwork.
This guide works two ways: read it sequentially if you’re doing a fresh setup, or jump directly to the section you need if you’re in the middle of an incident. An orientation map at the top of the full series links every major scenario to the right section.
This guide works two ways. If you’re standing up a new PowerEdge server, read it sequentially — it walks you from first login through production-ready configuration. If you’re in the middle of a hardware incident, jump directly to the relevant section using the table below. Every major section includes a Runbook Callout that explicitly addresses both scenarios.
Orientation map — go directly to your scenario:
| Scenario | Jump to section |
|---|---|
| First login, don’t know iDRAC IP | Initial Access |
| iDRAC web UI unreachable | Access & Connectivity Troubleshooting |
| Need to assign static IP | Network Configuration |
| RAID array shows Degraded | RAID Troubleshooting |
| Hardware fault alert firing | Hardware Fault Troubleshooting |
| Need to update firmware | Lifecycle Controller |
| Setting up alerting | Alerting Configuration |
| Need RACADM/Redfish commands fast | Appendix |
What Is Dell iDRAC 9?
iDRAC 9 (Integrated Dell Remote Access Controller 9) is an out-of-band management controller embedded in every Dell PowerEdge server (14th generation and later: R640, R740, R840, R940, R6525, R7525, R650, R750, and their successors). It runs on its own processor, memory, and network interface — entirely independent of the host OS. When your OS crashes, hangs, or is powered off, iDRAC keeps running.
Through iDRAC you can launch a virtual KVM console, mount remote ISO images, configure RAID, view real-time hardware sensors, receive fault alerts, update firmware, and automate everything via RACADM CLI or the Redfish REST API.
Licensing tiers matter. iDRAC 9 ships in four tiers that gate significant features:
| Feature | Basic | Express | Enterprise | Datacenter |
|---|---|---|---|---|
| Hardware health monitoring | ✓ | ✓ | ✓ | ✓ |
| System Event Log / LC Log | ✓ | ✓ | ✓ | ✓ |
| RACADM (limited) | ✓ | ✓ | ✓ | ✓ |
| Virtual console (KVM) | ✗ | Limited | ✓ | ✓ |
| Virtual media (ISO mount) | ✗ | ✗ | ✓ | ✓ |
| AD/LDAP integration | ✗ | ✗ | ✓ | ✓ |
| SNMP v3 / Syslog forwarding | ✗ | ✗ | ✓ | ✓ |
| iDRAC Group Manager | ✗ | ✗ | ✓ | ✓ |
| Redfish API (full surface) | ✗ | ✗ | ✓ | ✓ |
| Telemetry streaming | ✗ | ✗ | ✗ | ✓ |
Check your license before assuming a feature is available: iDRAC Settings > Overview > License.
Prerequisites
Before starting, confirm you have:
- A Dell PowerEdge server with iDRAC 9 (14th gen or later)
- Physical or network access to the iDRAC dedicated management port (or shared LOM if configured)
- Admin credentials — the root account password is printed on the system information pull-tab on the chassis
- A modern browser: Chrome 100+, Firefox 100+, or Edge 100+ (required for HTML5 virtual console)
- For RACADM remote access: TCP 443 and TCP 22 open to the iDRAC IP
- For SNMP alerts: UDP 162 open from iDRAC to your trap receiver
- For syslog: UDP/TCP 514 open from iDRAC to your log destination
- iDRAC Enterprise or Datacenter license if you need virtual console or virtual media
Step-by-Step Guide
Step 1: Understand Your Access Methods
iDRAC 9 exposes three management interfaces. Know which one to reach for:
| Method | When to use | Requires |
|---|---|---|
| Web UI (HTTPS) | Day-to-day management, configuration | Network access to iDRAC IP, port 443 |
| RACADM CLI | Scripting, bulk config, fast incident response | SSH (port 22) or local OS install |
| Redfish API | Automation, Ansible, CI/CD pipelines | Network access, port 443 |
| iDRAC Direct (USB) | Fallback when network isn’t configured | USB-A to USB-A cable, physical access |
iDRAC Direct is a recovery tool, not a primary management method. Configure network access first.
Step 2: Initial Access — Finding iDRAC and Logging In
📋 Runbook Callout
Setting up? This is your starting point — follow every sub-step.
Firefighting? If you can’t reach iDRAC at all, skip to Access & Connectivity Troubleshooting. If you’re locked out, go to the lockout recovery section there.
2a. Find the iDRAC IP Address
Try these methods in order:
Method 1 — LCD front panel: On servers with an LCD (R740, R840, etc.), press the center button and navigate to Setup > iDRAC. The IP address is displayed directly.
Method 2 — F2 during POST: Press F2 at the POST screen to enter System Setup. Navigate to iDRAC Settings > Network. Read the current IP.
Method 3 — Local RACADM from host OS (Linux):
# If OMSA or iDRAC Service Module is installed on the host OS
racadm getniccfg -n idrac
Method 4 — iDRAC Direct USB (no network required):
Connect a USB-A to USB-A cable from your workstation to the iDRAC Direct port on the server front panel.
On macOS: Open System Settings > Network. A new RNDIS interface appears. Assign it IP 169.254.0.4, subnet 255.255.0.0. Then access iDRAC at https://169.254.0.3.
On Linux: The interface appears as usb0 or similar. Configure it:
ip addr add 169.254.0.4/16 dev usb0
ip link set usb0 up
# Access iDRAC at https://169.254.0.3
2b. Log In for the First Time
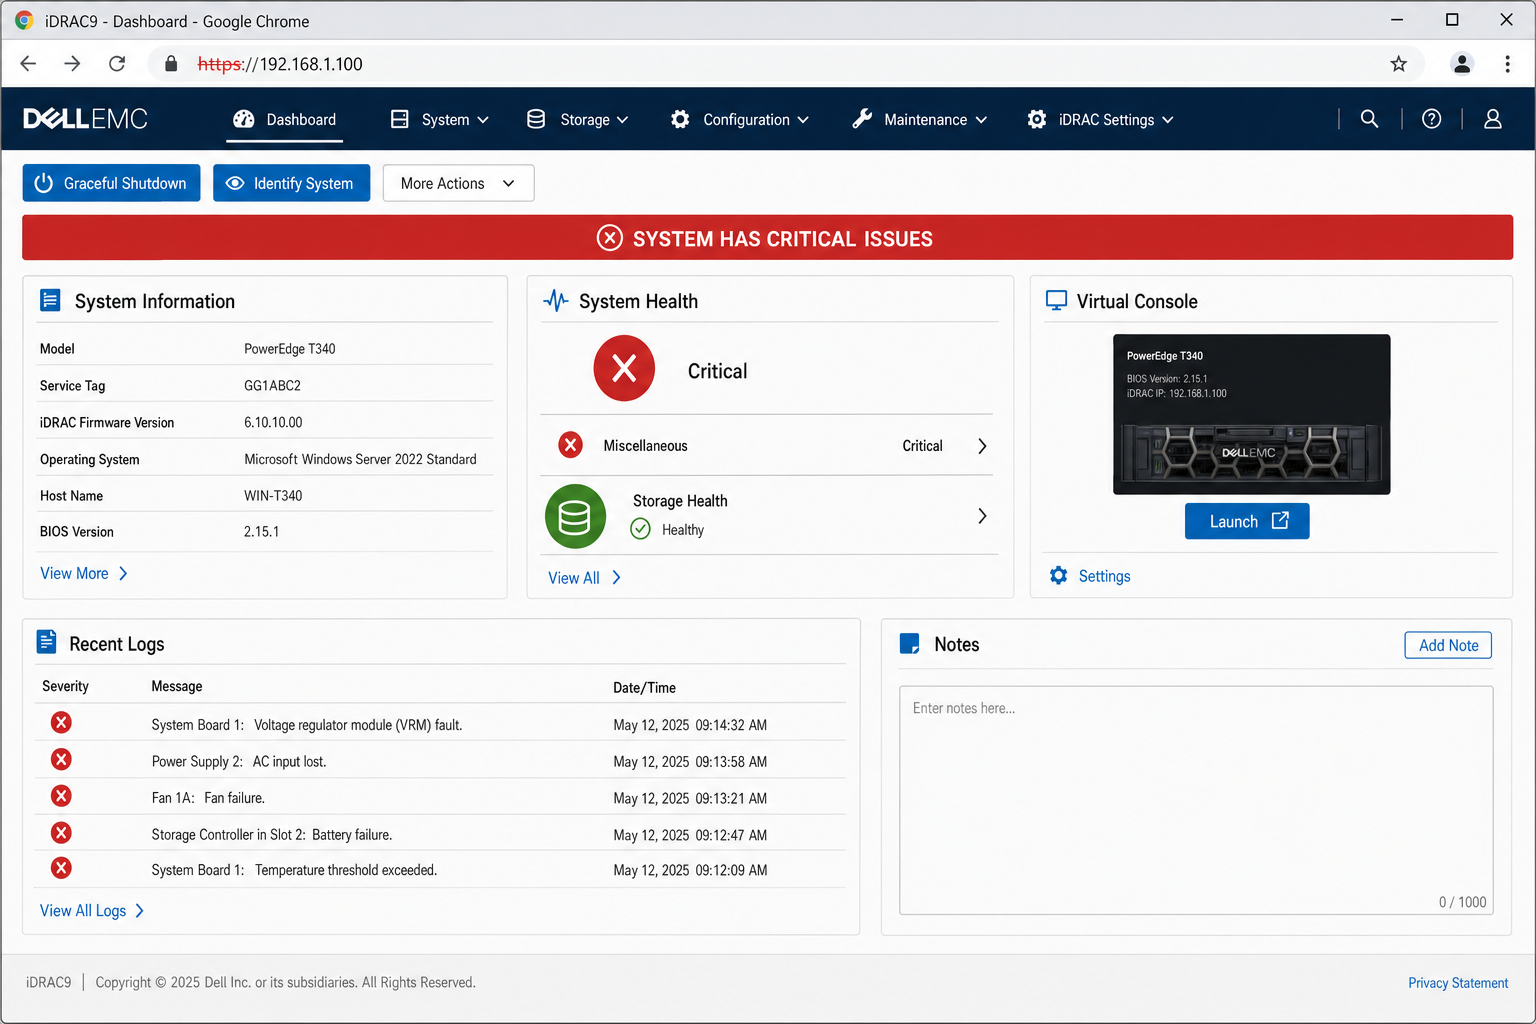
Navigate to https://<iDRAC-IP> in your browser. Accept the self-signed certificate warning — this is expected until you install a signed certificate.
Default credentials:
- Username:
root - Password: Printed on the system information pull-tab on the server chassis (unique per server on current hardware generations — no longer the legacy
calvindefault)
On first login, iDRAC requires a password change before the interface unlocks. Set a strong password and store it in your secrets vault immediately.
2c. macOS-Specific: RACADM Access
Dell does not publish a native macOS RACADM binary. From macOS, use one of these approaches:
Option 1 — SSH directly into iDRAC firmware RACADM:
ssh root@<iDRAC-IP>
# Once connected, run RACADM commands interactively
racadm getsysinfo
Option 2 — Redfish API via curl (equivalent capability for most operations):
# Replace YOUR_PASSWORD with your iDRAC root credential
curl -sk -u root:YOUR_PASSWORD https://<iDRAC-IP>/redfish/v1/Systems/System.Embedded.1
Pipe the response through python3 -m json.tool to pretty-print the JSON if you want to scan it manually.
Option 3 — Docker container with RACADM if you need the full RACADM binary locally. Pull the Dell-provided container image and run commands against the remote iDRAC IP using the -r flag.
With iDRAC accessible and your first login complete, you’re ready to lock down the network configuration and harden the management plane. In Part 2, we cover assigning a static IP, VLAN segmentation, disabling IPMI over LAN, creating named user accounts with RBAC, integrating Active Directory, and replacing the self-signed TLS certificate — everything needed before a server is handed to operations.
Continue to Part 2: Dell iDRAC 9: Network Configuration, User Accounts, RBAC, and TLS Hardening →