It’s late in the afternoon and I have just received a most interesting task. A client of mine wants to connect to his Microsoft SQL Server over the public network, with no VPN, and he’s asking me how can we best secure this connection. First thing that popped up in my mind is encryption!
So I told him let’s force encryption for traffic passing on port 1433, thus we can mitigate as much as possible this giant loophole which is accessing Microsoft SQL Server over the public network directly.

Now to be able to even start the encryption configuration process, we first need the most important things out of all the others: a certificate that has the following Enhanced Key Usage Property: Server Authentication 1.3.6.1.5.5.7.3.1.
So when deploying a self signed certificate or buying a legitimate one, we need to make extra sure the Key Usage string is exactly as the one stated above. Now 99% of the time a self-signed certificate is enough for encryption, but you can get a valid one from one of the trusted providers.

Ok, now that I’ve made sure I have the correct certificate, let’s go in and tell SQL which certificate to use. For that we need to copy the Certificate Thumbprint and put in the following registry key:
HKLM\SOFTWARE\Microsoft\Microsoft SQL Server\MSSQL14.MSSQLSERVER\MSSQLSERVER\SuperSocketNetLib

In that specific key there is a value called Certificate. We need to copy and paste the certificate thumbprint into that value.
In my case it’s going to look something like this:

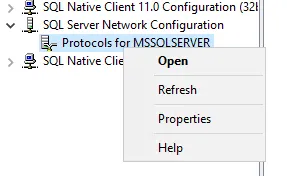
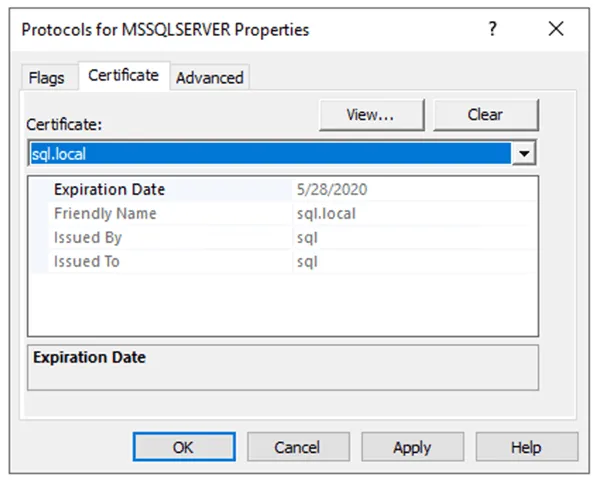
Now let’s go into the SQL Server Configuration Manager then go to SQL Server Network Configuration, the under Protocols for MSSQLSERVER go to Properties and then the Certificate tab. That’s where we’ll see the certificate we just deployed in the registry. All that’s left is to pick the certificate and then restart the SQL Server Service.


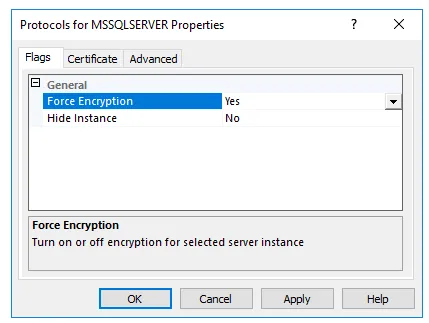
Next we will go and force encryption on the protocol by right clicking on the SQL Client Native Configuration and make sure Force Encryption is set to Yes.

Now that we have configured the certificate, let’s go back to SQL Server Services and restart the service by right clicking the SQL Server (MSSQLSERVER) service and choose Restart.

Voila, now we have configured port 1433 to encrypt communication!
The next step is to configure encrypted connections on our application or if we connect from SQL Server Management Studio.
To do that under SSMS, we need to go through the following steps:
- Click on Connect to Database Engine
- In the Connect to Server dialog box go to Options
- On the Connection Properties tab click Encrypt Connection
That’s it, pretty simple and straightforward. I hope you enjoyed this article and hope you come back for more cool articles.


