Hello fellow sys admins! In the following article, we will walk through an in-place upgrade from Windows Server 2008 R2 to 2012 R2. So let us dive right in.
The first step in any upgrade is to get the Installation Media. If you are using a Virtual Machine, then it’s as simple as adding the ISO to the Virtual CD-R Drive, either using the Hyper-V machine settings or the VMware console. If you are upgrading a physical server, then just unpack the ISO and copy it to either a secondary drive or flash drive, or you can just run it from a network share.
In our scenario, I am running the installation from a network share. In both cases, the upgrade process is the same; there is no difference between the VM OS or physical server OS as we all know so well.
Upgrade Server 2008 R2 to 2012 R2
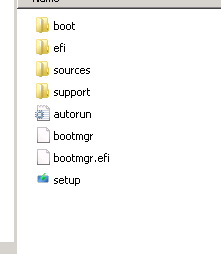
Therefore, as I mentioned before. I have unpacked the ISO using WinRAR.
![]()
Afterwards, I just ran the setup.exe from inside the OS. A small tip is to make sure you don’t have any other users logged into the server in any way, RDP or console, since the prerequisite check will fail and you will have to go through the setup again.
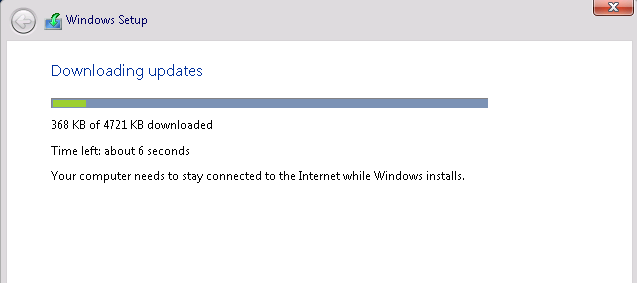
Once in the Setup Wizard, we will download the latest updates, which are required in order to bring the server to the latest compatible state for upgrading to Windows Server 2012 R2. This is a very important step, which most people choose to ignore, but it will save you a lot of hassle after you upgrade.
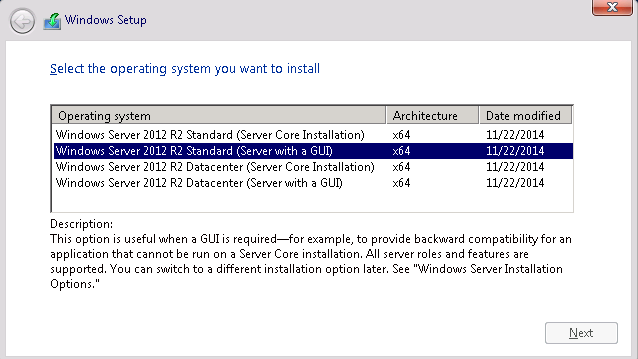
Next, we will choose the version of Windows Server 2012 R2. In our case, we are going from Windows Server 2008 R2 Standard Edition to Windows Server 2012 R2 Standard Edition.
Afterwards, we read the EULA from top to bottom, since it is very important. Hit Next and we then get to the eternal crossroad, where we have to choose whether to upgrade or to format. Since we want to upgrade, we will of course choose Upgrade!

Once Upgrade is selected, there is no going back. The train has left the station. The Upgrade process has commenced. Well, not really. First, it’s going to do the compatibility check, and if all goes well, you will be greeted with the following screen.
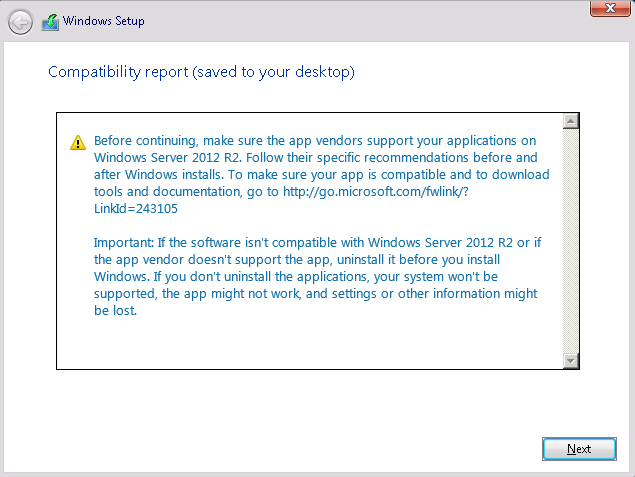
Then we hit Next, take a deep breath and watch and wait as the new version of Windows is being installed on top of our old one.
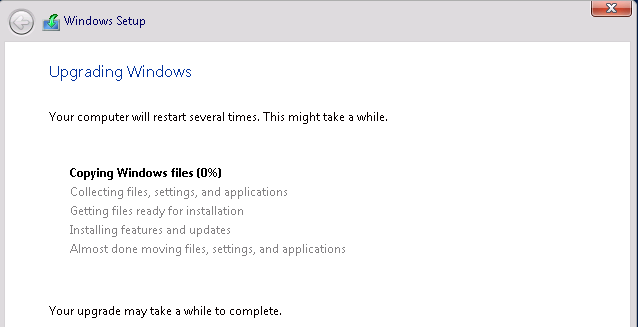
If everything goes well, we will be greeted with the Windows Server 2012 R2 loading screen and the Finalizing Settings window. This process will take a while, so even if at times it appears to be doing nothing, go take a break, come back later and then login to your new OS.
Thank you for taking this journey with me through the Upgrade of Windows Server 2008 R2 to Windows Server 2012 R2. Until next time! Enjoy!