
Ubuntu gives you four ways to install software. Each method exists for good reasons, but picking the right one upfront saves time. This guide shows you when to use APT’s stability, Snap’s convenience, Flatpak’s isolation, or manual installation for specialized needs.
What Are Ubuntu’s Software Installation Methods?
Ubuntu provides multiple installation methods because different software has different requirements:
Key Installation Methods:
- APT (Advanced Package Tool): Ubuntu’s traditional package manager with stable, tested software and deep system integration
- Snap Packages: Universal packages with automatic updates and built-in security sandboxing for desktop applications
- Flatpak: Cross-distribution package format with maximum application isolation and broad software availability
- Manual Installation: Direct installation from .deb files, AppImages, and source code for specialized or cutting-edge software
The real challenge isn’t learning these tools. It’s knowing which one to try first.
Prerequisites for Installing Software on Ubuntu 26.04
Before you begin, make sure you have:
- ☐ Ubuntu 26.04 LTS installed and running
- ☐ Administrative (sudo) access to your system
- ☐ Active internet connection for downloading packages
- ☐ Basic terminal knowledge (helpful but GUI options are available)
- ☐ At least 2 GB free disk space for software and dependencies
Testing Environment
This guide was tested on:
| Component | Version |
|---|---|
| OS | Ubuntu 26.04 LTS (Desktop) |
| Kernel | 7.0 |
| GNOME | 50 |
| Hardware | 4-core CPU, 8 GB RAM, 256 GB SSD |
Ubuntu 26.04 Software Installation: Step-by-Step Guide
Step 1: Verify Your Ubuntu Version and Update System
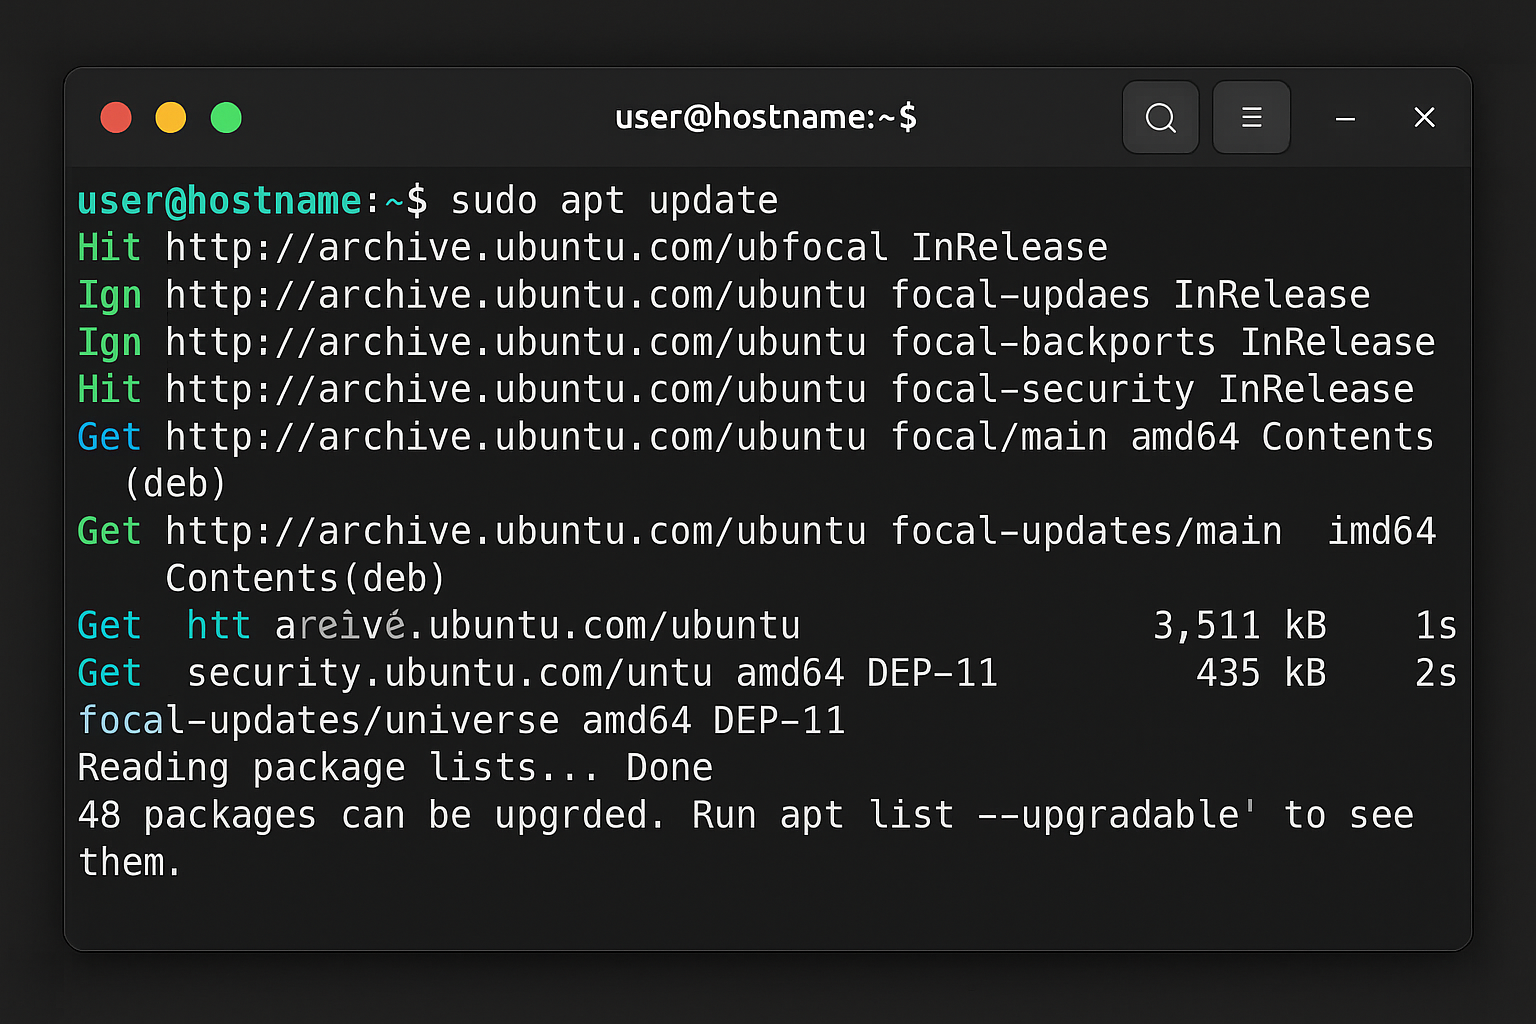
First, confirm you’re running Ubuntu 26.04 and update your system:
lsb_release -aExpected output:
Distributor ID: Ubuntu
Description:    Ubuntu 26.04 LTS
Release:        26.04
Codename:       resolute
Update your package lists and system:
sudo apt update && sudo apt upgrade -yExpected output:
Hit:1 http://archive.ubuntu.com/ubuntu resolute InRelease
Get:2 http://archive.ubuntu.com/ubuntu resolute-updates InRelease [119 kB]
Get:3 http://security.ubuntu.com/ubuntu resolute-security InRelease [110 kB]
...
Reading package lists... Done
Building dependency tree... Done
0 upgraded, 0 newly installed, 0 to remove and 0 not upgraded.
Flag explanations:
-a: Shows all distribution information including version, codename, and description for complete system identification-y: Automatically answers “yes” to all prompts during the upgrade process, enabling unattended installation&&: Logical AND operator that runs the second command only if the first command succeeds (exit code 0)
This ensures you have the latest security patches and package information before installing new software.
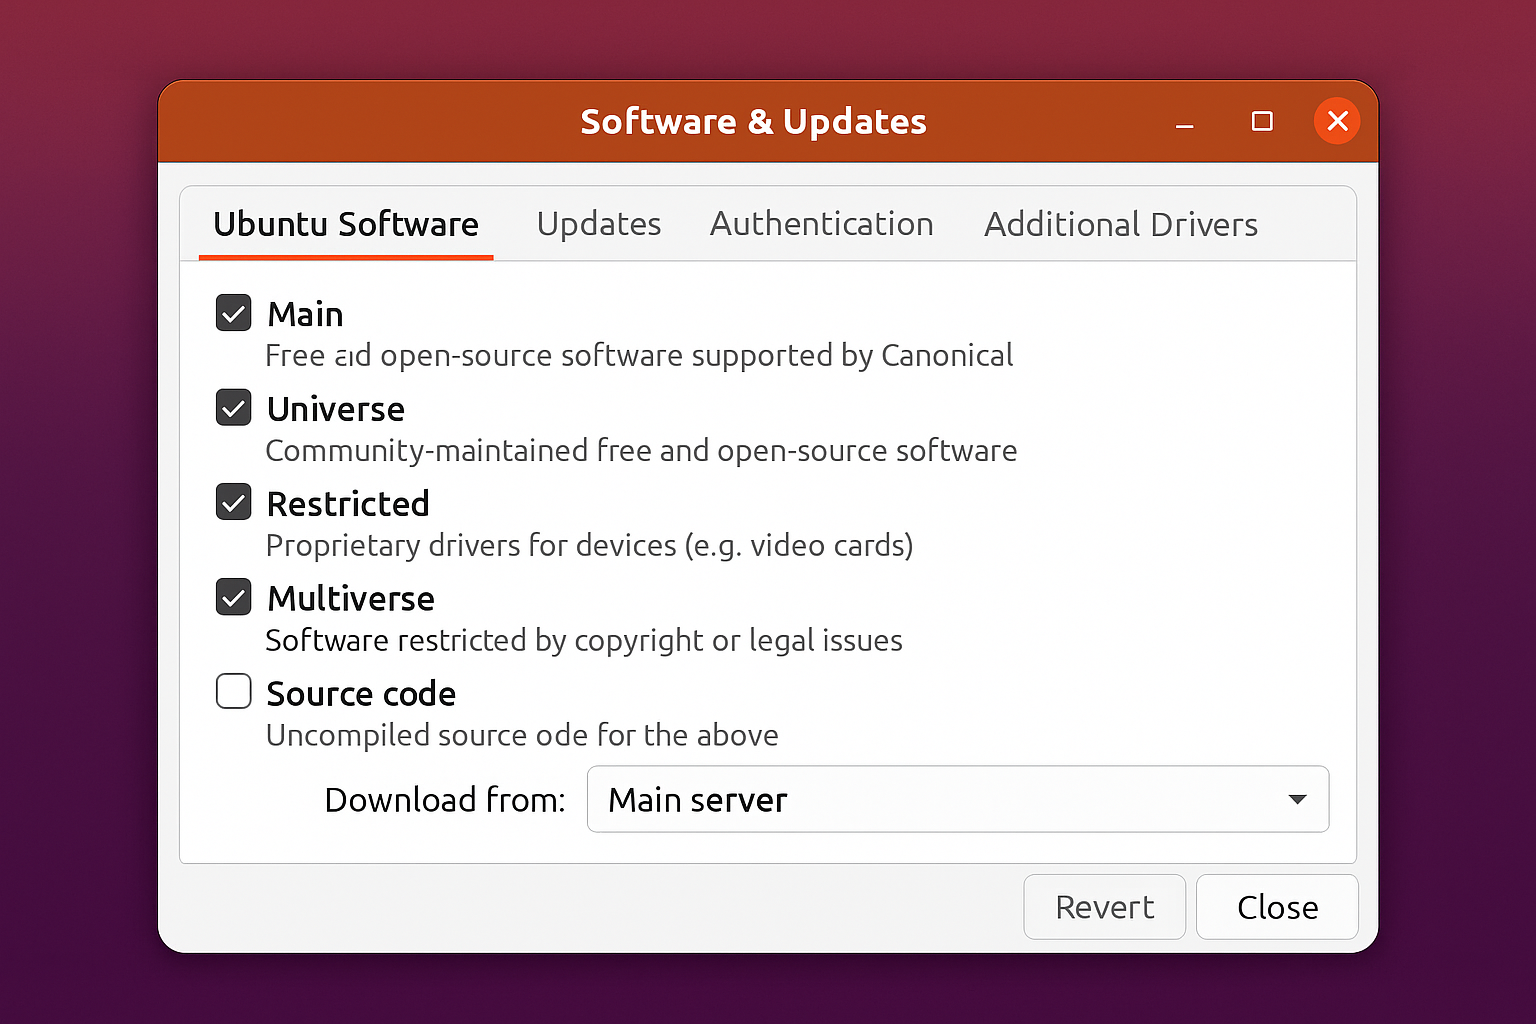
Step 2: Enable Additional Ubuntu Software Repositories
Ubuntu 26.04 ships with only the main and restricted repositories enabled by default. You’ll want the additional sources — they contain most of the software you actually use:
# Open Software & Updates graphically
software-properties-gtk
Or enable via command line:
sudo add-apt-repository universe
sudo add-apt-repository multiverse
sudo apt update
Expected output:
Repository: 'deb http://archive.ubuntu.com/ubuntu resolute universe'
Description:
Archive for the 'universe' component
More info: https://wiki.ubuntu.com/UbuntuDevelopment
Adding repository.
Press [ENTER] to continue or Ctrl-c to cancel.
Adding deb entry to /etc/apt/sources.list.d/archive_uri-http_archive_ubuntu_com_ubuntu-resolute.list
Adding disabled deb-src entry to /etc/apt/sources.list.d/archive_uri-http_archive_ubuntu_com_ubuntu-resolute.list
Repository explanations:
universe: Community-maintained free and open-source software not officially supported by Canonicalmultiverse: Software that is not free (includes proprietary drivers, codecs, and commercial applications)
Step 3: Set Up Flatpak for Additional Software Sources (Optional but Recommended)
Flatpak isn’t installed by default in Ubuntu 26.04. Install it for access to additional applications:
sudo apt install flatpakExpected output:
Reading package lists... Done
Building dependency tree... Done
The following additional packages will be installed:
  flatpak-session-helper xdg-desktop-portal-gtk
The following NEW packages will be installed:
  flatpak flatpak-session-helper xdg-desktop-portal-gtk
0 upgraded, 3 newly installed, 0 to remove and 0 not upgraded.
Add the Flathub repository (the primary source for Flatpak applications):
flatpak remote-add --if-not-exists flathub https://dl.flathub.org/repo/flathub.flatpakrepoExpected output:
Adding remote flathub to system installationsFlag explanations:
--if-not-exists: Only adds the repository if it doesn’t already exist, preventing duplicate entries and configuration conflicts
Reboot or log out and back in for Flatpak integration to work properly:
sudo reboot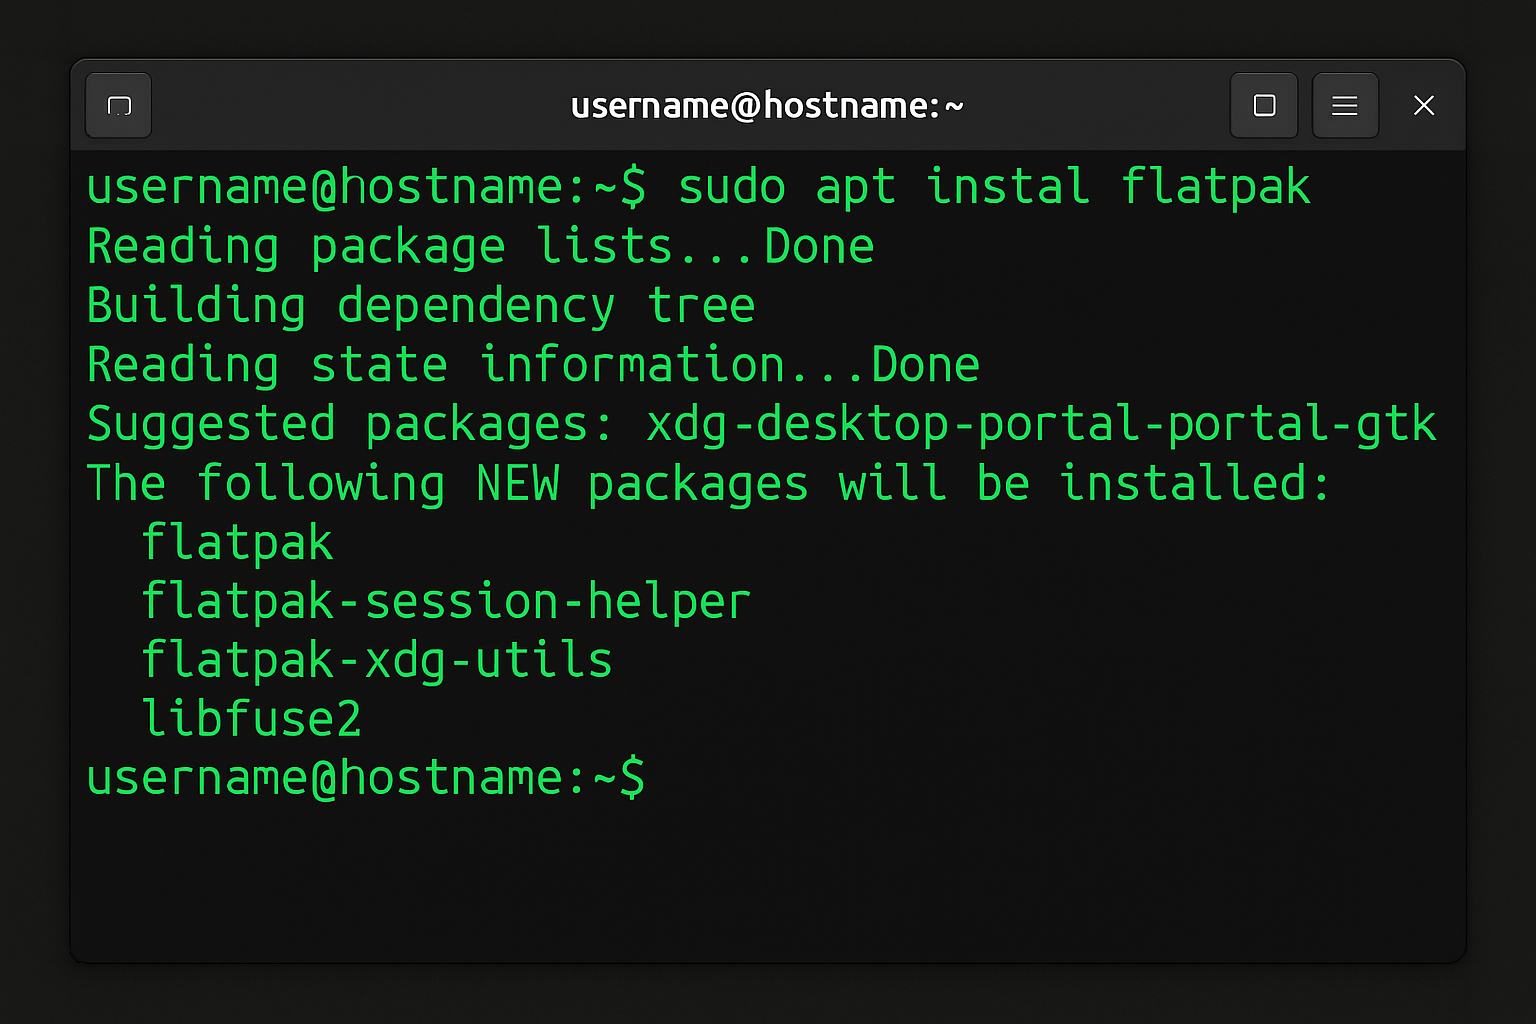
Ubuntu Software Installation Methods: Choosing the Right Approach
APT Package Manager: For System Utilities and Development Tools
When to choose APT:
- Installing compilers, libraries, or system tools
- Command-line utilities and server software
- Development environments (Python, Node.js, etc.)
- When you need the most stable, tested versions
APT packages integrate deeply with Ubuntu’s system. They follow Debian packaging standards. They handle dependencies cleanly. They receive security updates through Ubuntu’s established channels.
APT Installation Process:
Search for packages:
apt search firefox
# or more specific search
apt search --names-only git
Flag explanations:
--names-only: Searches only package names, not descriptions, for more precise results and faster search performance
Install a package:
sudo apt install gitExpected output:
Reading package lists... Done
Building dependency tree... Done
Reading state information: Done
The following additional packages will be installed:
  git-man liberror-perl
Suggested packages:
  git-daemon-run | git-daemon-sysvinit git-doc git-el git-email git-gui gitk gitweb git-cvs git-mediawiki git-svn
The following NEW packages will be installed:
  git git-man liberror-perl
0 upgraded, 3 newly installed, 0 to remove and 0 not upgraded.
Remove a package:
sudo apt remove package-name
# or remove with config files
sudo apt purge package-name
Removal flag explanations:
remove: Uninstalls the package but keeps configuration files in case you reinstall laterpurge: Completely removes the package including all configuration files, providing a clean uninstall
Using Ubuntu Software Center (GUI Method):
- Open Ubuntu Software from the Activities overview
- Search for your desired application
- Click Install on applications marked with “deb” or no special badge
Snap Packages: For Desktop Applications and Media Software
When to choose Snap:
- Popular desktop applications (browsers, media players, productivity tools)
- Applications needing sandboxed security
- When you want the latest versions from developers
- Cross-platform software that needs to “just work”
Snaps update automatically and run in isolated containers. They’re larger than APT packages but eliminate dependency conflicts entirely.
Snap Installation Process:
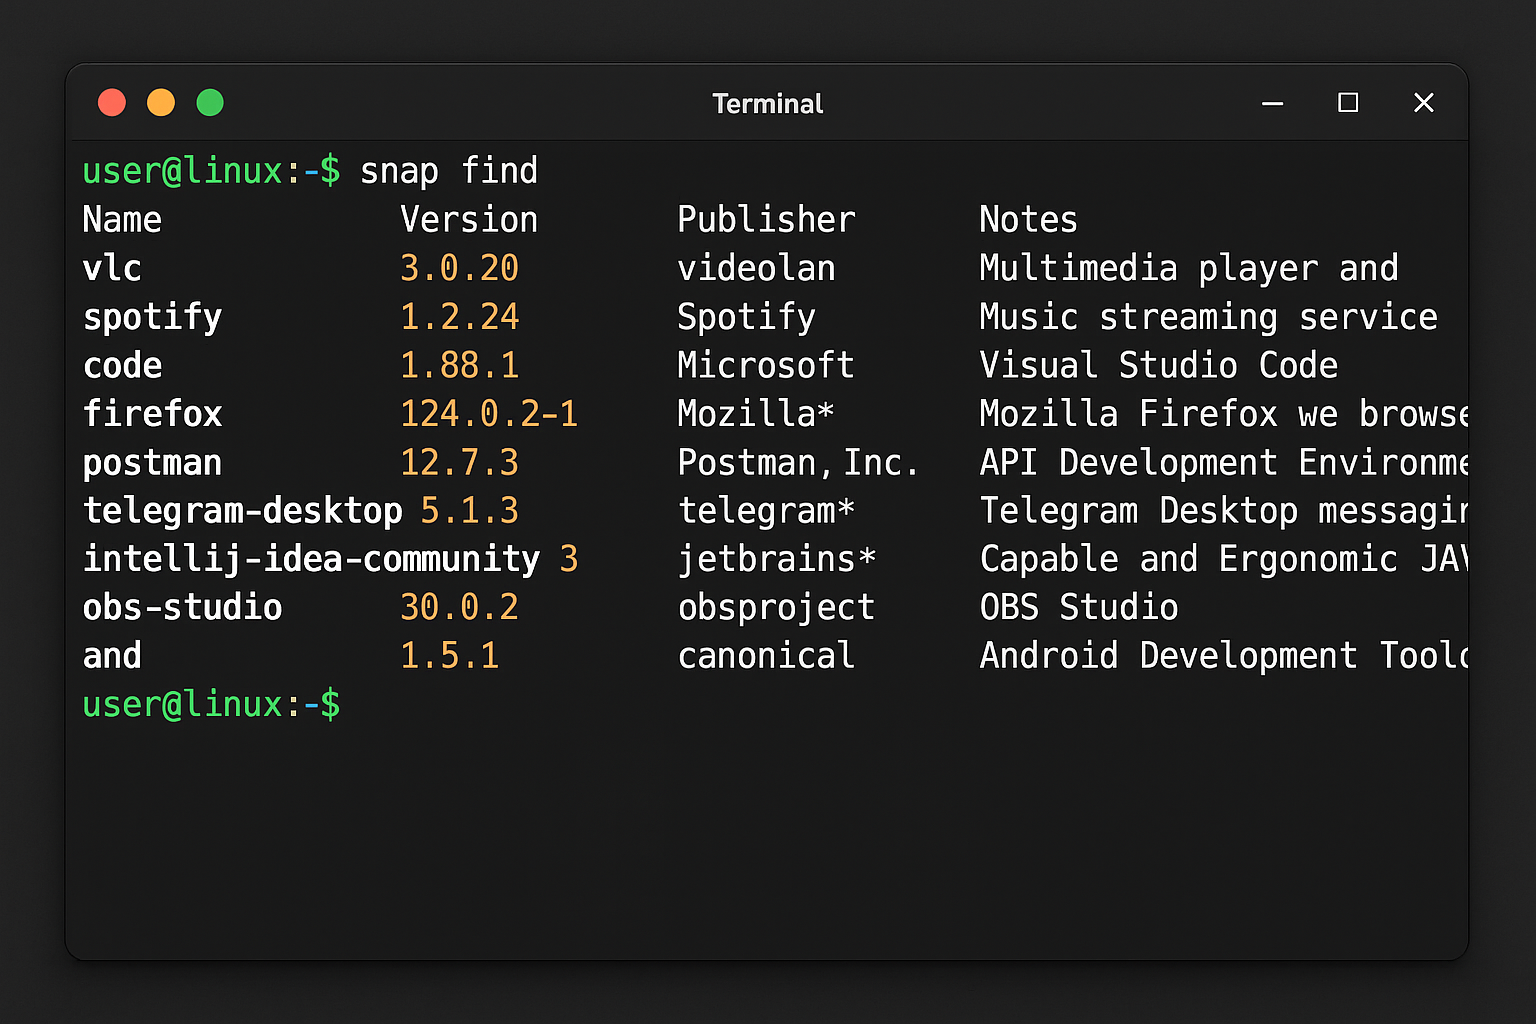
Search for snaps:
snap find discordExpected output:
Name     Version  Publisher   Notes  Summary
discord  0.0.45   snapcrafters -      All-in-one voice and text chat for gamers
Install a snap:
sudo snap install discordExpected output:
discord 0.0.45 from snapcrafters installedList installed snaps:
snap listExpected output:
Name                  Version                     Rev    Tracking       Publisher   Notes
core20                20221027                    1695   latest/stable  canonical✓  base
discord               0.0.45                      140    latest/stable  snapcrafters -
snapd                 2.67                        17336  latest/stable  canonical✓  snapd
Remove a snap:
sudo snap remove discordManaging Snap Channels:
Snaps have different release channels. Install from a specific channel:
# Install from edge (development) channel
sudo snap install code --classic --channel=edge

# Switch channels for installed snap
sudo snap refresh code --channel=stable
Channel and confinement flag explanations:
--classic: Disables snap confinement for applications that need full system access (like IDEs and development tools)--channel=edge: Installs from the development/testing channel instead of stable, providing cutting-edge features but potentially less stability--channel=stable: Switches to the stable release channel for production-ready versions with thorough testing
Flatpak Applications: For Creative Software and Specialized Apps
When to choose Flatpak:
- Applications not available in Ubuntu repositories or Snap Store
- Graphics, audio, and creative software
- When you want maximum application sandboxing
- Applications that need specific runtime environments
Flatpak really shines for creative applications that need specific graphics libraries. The sandboxing is more granular than Snap’s. This gives you fine-tuned permission control.
Flatpak Installation Process:
Search for applications:
flatpak search gimpExpected output:
Name                          Description                                        Application ID            Version    Branch Remotes
GNU Image Manipulation Prog… Create images and edit photographs               org.gimp.GIMP             3.0.0      stable flathub
Install from Flathub:
flatpak install flathub org.gimp.GIMPExpected output:
Looking for matches…
Required runtime for org.gimp.GIMP/x86_64/stable (runtime/org.gnome.Platform/x86_64/42) found in remote flathub
Do you want to install it? [Y/n]: Y
Installing in system:
org.gnome.Platform/x86_64/42                  flathub 524.5 MB / 524.5 MB
org.gimp.GIMP/x86_64/stable                   flathub  75.8 MB /  75.8 MB
Installation complete.
Run a Flatpak application:
flatpak run org.gimp.GIMPList installed Flatpaks:
flatpak listRemove a Flatpak:
flatpak uninstall org.gimp.GIMP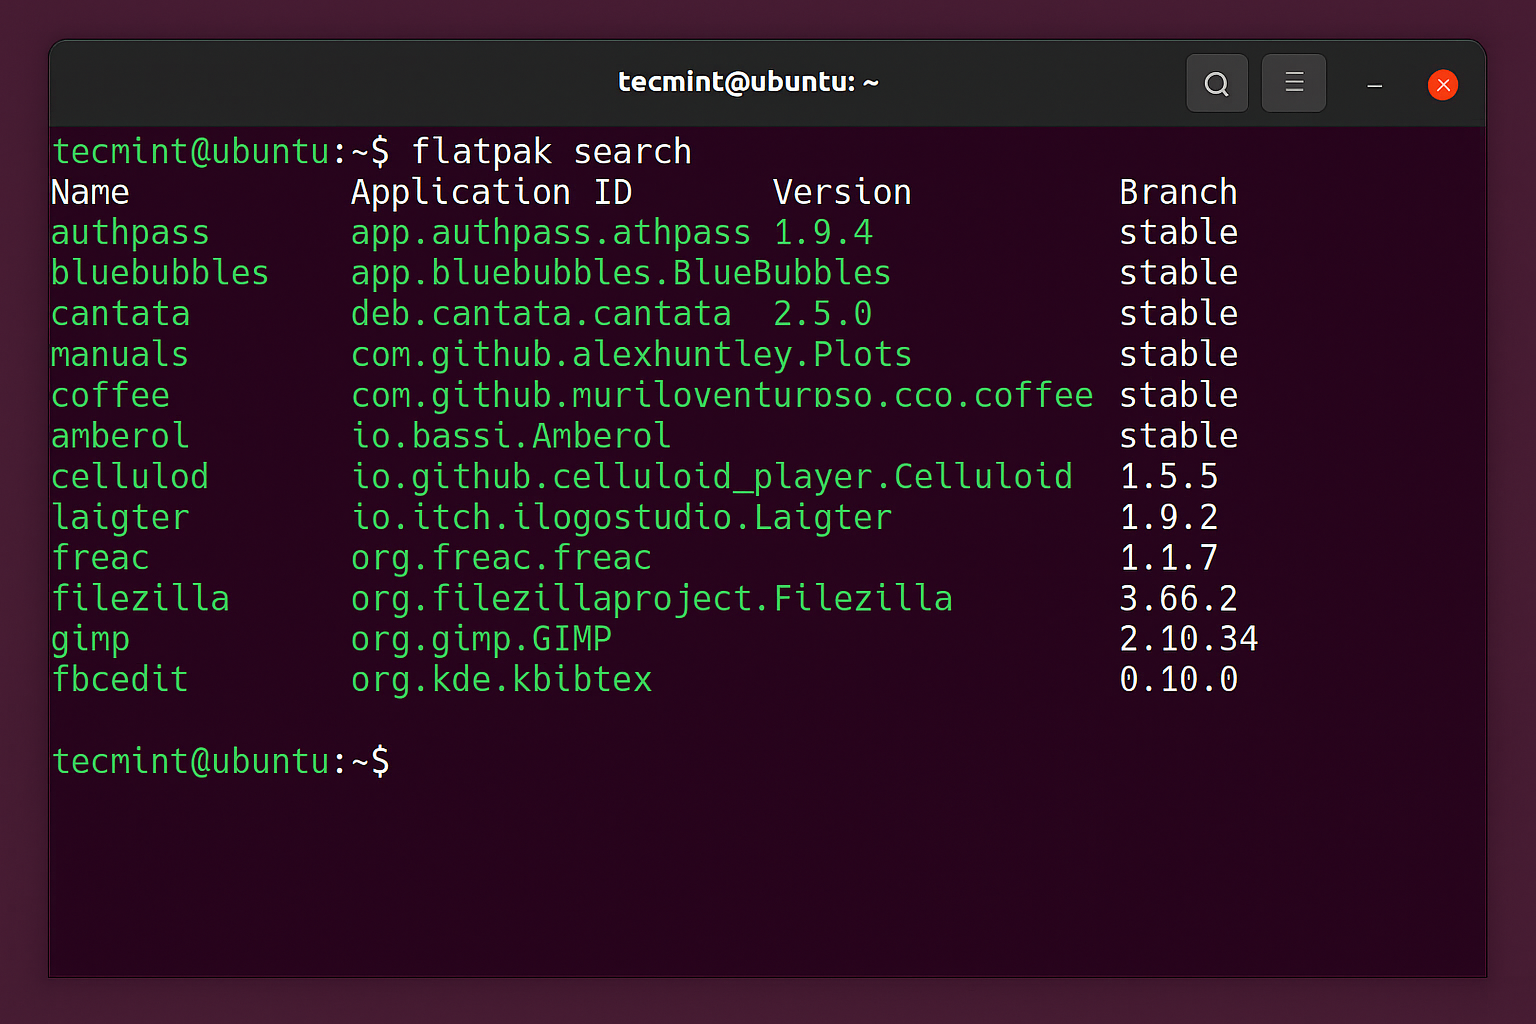
Manual Installation: For Proprietary or Cutting-Edge Software
When manual installation is your best option:
- Proprietary software with custom installers (like Google Chrome)
- Cutting-edge software not yet packaged
- Specific versions required for compatibility
- Software distributed only as .deb files or AppImages
Manual installation gives you complete control. But it requires more attention to security and updates.
Installing .deb Packages on Ubuntu
Download and install .deb files:
# Download example (Google Chrome)
# Note: apt-key is deprecated. Use the modern keyring method below.
sudo install -d -m 0755 /etc/apt/keyrings
curl -fsSL https://dl.google.com/linux/linux_signing_key.pub | sudo gpg --dearmor -o /etc/apt/keyrings/google-chrome.gpg
echo "deb [arch=amd64 signed-by=/etc/apt/keyrings/google-chrome.gpg] http://dl.google.com/linux/chrome/deb/ stable main" | sudo tee /etc/apt/sources.list.d/google-chrome.list
sudo apt update
sudo apt install google-chrome-stable
Expected output:
deb [arch=amd64 signed-by=/etc/apt/keyrings/google-chrome.gpg] http://dl.google.com/linux/chrome/deb/ stable main
Hit:1 http://archive.ubuntu.com/ubuntu resolute InRelease
Get:2 http://dl.google.com/linux/chrome/deb stable InRelease [1,811 B]
Get:3 http://dl.google.com/linux/chrome/deb stable/main amd64 Packages [1,096 B]
Reading package lists... Done
The following NEW packages will be installed:
  google-chrome-stable
Flag explanations:
curl -fsSL: Downloads the key silently, failing on errors, and follows redirects — safer than wget piped to apt-key--dearmor: Converts the GPG key from ASCII-armored format to binary format required by apt-o /etc/apt/keyrings/google-chrome.gpg: Saves the key to the modern/etc/apt/keyrings/directory instead of the deprecated apt-key keyringsigned-by=: Tells apt to verify packages from this repo against the specific key file, improving security over the old trusted.gpg approach[arch=amd64]: Specifies the repository is for 64-bit x86 architecture, ensuring compatibility with your system
Note: The older
apt-key addmethod is deprecated as of Ubuntu 22.04 and later. Always use thecurl-to-/etc/apt/keyrings/approach shown above when adding third-party repositories.
Or install a downloaded .deb file directly:
# Install with dependency resolution
sudo apt install ./downloaded-package.deb

# Or use dpkg (may require manual dependency fixes)
sudo dpkg -i downloaded-package.deb
sudo apt --fix-broken install  # if dependencies are missing
Installation flag explanations:
./: Specifies a local file path instead of a package name from repositories, telling apt to install from the current directory-i: Install flag for dpkg (Debian package manager), directly installing the package file--fix-broken: Attempts to fix broken dependencies after manual installation by downloading and installing missing packages
Using AppImages for Portable Applications
AppImages are portable applications that don’t require installation:
# Make AppImage executable
chmod +x Example-App.AppImage

# Run the AppImage
./Example-App.AppImage
Flag explanations:
+x: Adds execute permission to the file for the current user, making the AppImage runnable as a program
For better desktop integration, use AppImageLauncher:
sudo apt install software-properties-common
sudo add-apt-repository ppa:appimagelauncher-team/stable
sudo apt update
sudo apt install appimagelauncher
Ubuntu Software Configuration and Management
Managing Software Sources and Repositories
View enabled repositories:
grep -r "^deb " /etc/apt/sources.list /etc/apt/sources.list.d/Expected output:
/etc/apt/sources.list:deb http://archive.ubuntu.com/ubuntu resolute main restricted
/etc/apt/sources.list:deb http://archive.ubuntu.com/ubuntu resolute-updates main restricted
/etc/apt/sources.list:deb http://archive.ubuntu.com/ubuntu resolute universe
/etc/apt/sources.list:deb http://security.ubuntu.com/ubuntu resolute-security main restricted
Flag explanations:
-r: Recursively searches through directories and subdirectories for matching patterns“^deb “
: Regular expression matching lines starting with “deb ” (active repositories), excluding commented lines
Add a Personal Package Archive (PPA):
sudo add-apt-repository ppa:example/ppa-name
sudo apt update
Remove a PPA:
sudo add-apt-repository --remove ppa:example/ppa-nameFlag explanations:
--remove: Removes the specified repository instead of adding it, cleaning up both the repository entry and GPG keys
Keeping Ubuntu Software Updated
Ubuntu’s multiple package systems need separate commands for each:
Update all APT packages:
sudo apt update && sudo apt upgradeUpdate all snaps:
sudo snap refreshExpected output:
All snaps up to date.Update all Flatpaks:
flatpak updateExpected output:
Looking for updates…
Nothing to do.
Set up automatic security updates:
sudo apt install unattended-upgrades
sudo dpkg-reconfigure unattended-upgrades
Storage Management for Ubuntu Software
Each package system has its own storage quirks. Check what’s using space:
# APT package cache
du -sh /var/cache/apt/archives/

# Snap packages
du -sh /var/lib/snapd/snaps/

# Flatpak applications
flatpak list --columns=name,size

# Clean up package caches
sudo apt autoclean
sudo apt autoremove
Flag explanations:
-s: Summarizes total size instead of showing individual file sizes, providing a single total for the directory-h: Human-readable format (KB, MB, GB instead of bytes) for easier interpretation of disk usage--columns=name,size: Shows only specified columns in the output, filtering out unnecessary information for cleaner display
Ubuntu Software Installation Troubleshooting and Tips
Common APT Package Manager Issues
Error: Package not found when using apt
Cause: Software not available in enabled repositories or repository lists not updated
Fix:
sudo apt update
# Check if universe/multiverse repositories are enabled
sudo add-apt-repository universe multiverse
sudo apt updateError: Could not get lock /var/lib/dpkg/lock-frontend
Cause: Another package manager process is running
Fix:
# Wait for other processes to finish, or force unlock
sudo killall apt apt-get
sudo rm /var/lib/apt/lists/lock
sudo rm /var/cache/apt/archives/lock
sudo rm /var/lib/dpkg/lock*
sudo dpkg --configure -a
sudo apt update
Flag explanations:
--configure -a: Configures all unpacked but unconfigured packages, completing interrupted installations
Common Snap Package Issues
Problem: Snap applications start slowly
Cause: Snap packages need to mount their filesystem and load dependencies on startup
Solution: This is normal behavior. Subsequent launches will be faster. Consider using the APT version if available for better performance.
Problem: Snap applications can’t access files in home directory
Cause: Snap confinement restricts file system access
Fix:
# Grant specific permissions
sudo snap connect app-name:home
sudo snap connect app-name:removable-media

# List available connections
snap connections app-name
Expected output:
Interface        Plug                 Slot               Notes
desktop          app-name:desktop     :desktop           -
home             app-name:home        :home              connected
removable-media  app-name:removable-media :removable-media connected
Common Flatpak Application Issues
Problem: Flatpak applications don’t have system access
Cause: Flatpak sandboxing restricts application permissions by default
Solution: Install Flatseal for GUI permission management:
flatpak install flathub com.github.tchx84.FlatsealOr use command line:
# Grant file system access
flatpak override --user --filesystem=home org.example.App

# Grant network access
flatpak override --user --share=network org.example.App
Flag explanations:
--user: Applies the override for the current user only, not system-wide, allowing per-user permission customization--filesystem=home: Grants access to the user’s home directory, enabling file operations in personal folders--share=network: Allows the application to access the network, enabling internet connectivity for the sandboxed app
Universal Troubleshooting Steps
When things go wrong across any installation method, these commands help diagnose issues:
Check system resources:
df -h        # Check disk space
free -h      # Check memory usage
top          # Check running processes
Flag explanations:
-h: Human-readable format for disk space and memory output, displaying sizes in KB, MB, GB instead of bytes
Clear package caches:
sudo apt clean
sudo snap set system refresh.retain=2  # Keep only 2 snap versions
flatpak uninstall --unused  # Remove unused runtimes
Flag explanations:
refresh.retain=2: Configures snap to keep only the current and one previous version, saving disk space by removing older revisions--unused: Removes Flatpak runtimes that are no longer needed by any installed applications, freeing up storage space
Check installation logs:
# APT logs
cat /var/log/apt/history.log

# Snap logs
sudo journalctl -u snapd.service

# System logs for installation issues
sudo journalctl -f
Flag explanations:
-u snapd.service: Shows logs only for the snapd service unit, filtering out unrelated system messages-f: Follows the log in real-time, showing new entries as they appear for live troubleshooting
Security Best Practices for Ubuntu Software Installation
Verify package sources:
- Only install from official repositories when possible
- Check GPG signatures for .deb files from third parties
- Avoid installing random .deb files from unknown websites
Use checksums for manual downloads:
# Verify SHA256 checksum
sha256sum downloaded-file.deb
# Compare with checksum provided by developer
Monitor installed software:
# List all installed packages by size
dpkg-query -Wf '${Installed-Size}\t${Package}\n' | sort -n

# Check for security updates
sudo apt list --upgradable | grep -i security
Flag explanations:
-Wf: Specifies the output format for dpkg-query, allowing custom formatting of package information${Installed-Size}: Shows the installed size of each package in kilobytes for disk usage analysis-n: Sorts numerically instead of alphabetically, ordering packages from smallest to largest size--upgradable: Shows only packages that have available updates, filtering out current packages-i: Case-insensitive grep search, matching “security” regardless of capitalization
Conclusion: Mastering Ubuntu 26.04 Software Installation
Ubuntu’s four installation methods work together, not against each other. APT handles the system foundation. Snap delivers convenient desktop apps. Flatpak excels at creative software. Manual installation covers everything else.
| Use Case | First Try | Fallback Options |
|---|---|---|
| System utilities | APT | Manual .deb |
| Desktop apps | Snap | Flatpak → APT |
| Creative software | Flatpak | Snap → Manual |
| Development tools | APT | Snap → Manual |
| Proprietary software | Manual .deb | Snap → Flatpak |
Start with the “First Try” method for your use case. If that doesn’t work or the software isn’t available, move to the fallback options. This approach saves time and reduces frustration.
Remember: Ubuntu’s software ecosystem is designed to give you choice. Use that choice strategically, and you’ll have a system that works exactly how you need it to.