

If you followed a StatefulSet + PersistentVolumeClaim guide to get PostgreSQL running on Kubernetes, congratulations, you have a database that survives pod restarts. You don’t have a disaster recovery plan. This guide picks up where that one left off. Install Velero, connect it to S3-compatible object storage, schedule automated PostgreSQL backups, and prove they work with a real restore into a new namespace.
By the end, you’ll have nightly backups running unattended. You’ll have a restore procedure you’ve tested yourself instead of trusted blindly. And you’ll have a way to catch a silently failed backup before you need it at 3 AM.
What is Velero?
Velero (formerly Heptio Ark) is an open-source CLI tool that backs up Kubernetes resources: StatefulSets, Services, ConfigMaps, Secrets. It also backs up the persistent volume data attached to them. It stores those backups in S3-compatible object storage: AWS S3, MinIO, whatever you’ve got. It’s Apache 2.0 licensed, free, and runs entirely inside your own cluster against your own storage. No vendor lock-in, no phone-home licensing server.
For PostgreSQL, what matters most is that Velero is hook-aware. It can run commands inside your PostgreSQL container right before and after the backup. That gets you a consistent database state instead of a snapshot taken mid-write. Velero also supports two backup methods: fast CSI volume snapshots at the storage layer, or file-level backups through its Node Agent. The Node Agent is the fallback for storage that doesn’t do snapshots at all.
Why a StatefulSet + PVC Isn’t a Backup Strategy
This trips up a lot of teams moving from VMs to Kubernetes. A PersistentVolumeClaim gives PostgreSQL durable storage; it survives pod restarts and rescheduling. It does not protect you from:
- Accidental deletion.
kubectl delete pvc postgres-data-postgres-0or a bad Helm uninstall removes the claim. Depending on your storage class’s reclaim policy, the underlying volume can disappear with it. - Storage-layer corruption. A failing disk, a botched CSI driver upgrade, or a bad node doesn’t care that your data is “persistent.”
- Human error inside the database. A dropped table, a bad migration, or an accidental
TRUNCATEreplicates instantly to your one copy of the data. There’s no point-in-time recovery without something else in place. - Cluster loss. If the whole cluster goes down, whether from a botched upgrade, a cloud region outage, or a homelab hardware failure, your PVC and its data may be unrecoverable. Replication settings won’t save you.
A PVC answers “where does my data live.” It doesn’t answer “how do I get it back if this cluster disappears.” That’s what Velero is for.
Before You Begin
Make sure you have:
- An existing Kubernetes cluster (tested on Kubernetes 1.33–1.35) with PostgreSQL already running via a StatefulSet and PVC
kubectlinstalled and authenticated against that cluster (kubectl get nodesreturns results)- Cluster-admin permissions, since Velero installs CRDs and cluster-scoped roles
- S3-compatible object storage and credentials (AWS S3 bucket, or a self-hosted MinIO instance; see our MinIO setup guide if you’re running homelab storage)
- A storage class that supports CSI volume snapshots (optional, but recommended if available); check with
kubectl get volumesnapshotclass - A terminal: PowerShell/Command Prompt (Windows), Terminal.app (macOS), or a standard shell (Linux)
| Requirement | Details |
|---|---|
| Kubernetes cluster | 1.33+ recommended (Velero v1.18.x is tested against Kubernetes 1.33–1.35), with PostgreSQL StatefulSet already deployed |
| Velero version | v1.18.x (current stable line as of 2026) |
| Object storage | AWS S3, MinIO, or another S3-compatible provider |
| kubectl | Configured with a context pointing at your target cluster |
| Node Agent (optional) | Required if your storage class doesn’t support CSI snapshots |
This guide assumes PostgreSQL is already deployed. If you haven’t set that up yet, deploy PostgreSQL via a StatefulSet first. Velero backs up an existing workload. It doesn’t create one.
Step-by-Step Guide
Step 1: Prepare Your Object Storage Bucket
Velero needs somewhere off-cluster to store backup data. Create a dedicated bucket. Don’t reuse one that already holds unrelated application data. Velero’s TTL/retention cleanup deletes objects it created.
For AWS S3:
aws s3api create-bucket \
  --bucket my-velero-backups \
  --region us-east-1
For a self-hosted MinIO instance, create the bucket through the MinIO Console or the mc CLI:
mc alias set myminio https://minio.example.com YOUR_ACCESS_KEY YOUR_SECRET_KEY
mc mb myminio/velero-backups
Either way, note the bucket name, region (or us-east-1 as a placeholder for MinIO), and endpoint URL. You’ll need them for the install command.
Step 2: Create Object Storage Credentials
Velero authenticates to your bucket with a credentials file in standard AWS CLI format. Same format, whether you’re on actual AWS S3 or MinIO.
Create a file named credentials-velero in your working directory:
[default]
aws_access_key_id=YOUR_ACCESS_KEY
aws_secret_access_key=YOUR_SECRET_KEYWarning: This file contains plaintext credentials. Don’t commit it to version control. Add
credentials-veleroto your.gitignorebefore you do anything else.
Step 3: Install the Velero CLI
Linux
Download and install the CLI binary for the current stable release line (v1.18.x):
VELERO_VERSION=v1.18.0
curl -fsSL -o velero.tar.gz \
  "https://github.com/velero-io/velero/releases/download/${VELERO_VERSION}/velero-${VELERO_VERSION}-linux-amd64.tar.gz"
tar -xzf velero.tar.gz
sudo mv velero-${VELERO_VERSION}-linux-amd64/velero /usr/local/bin/velero
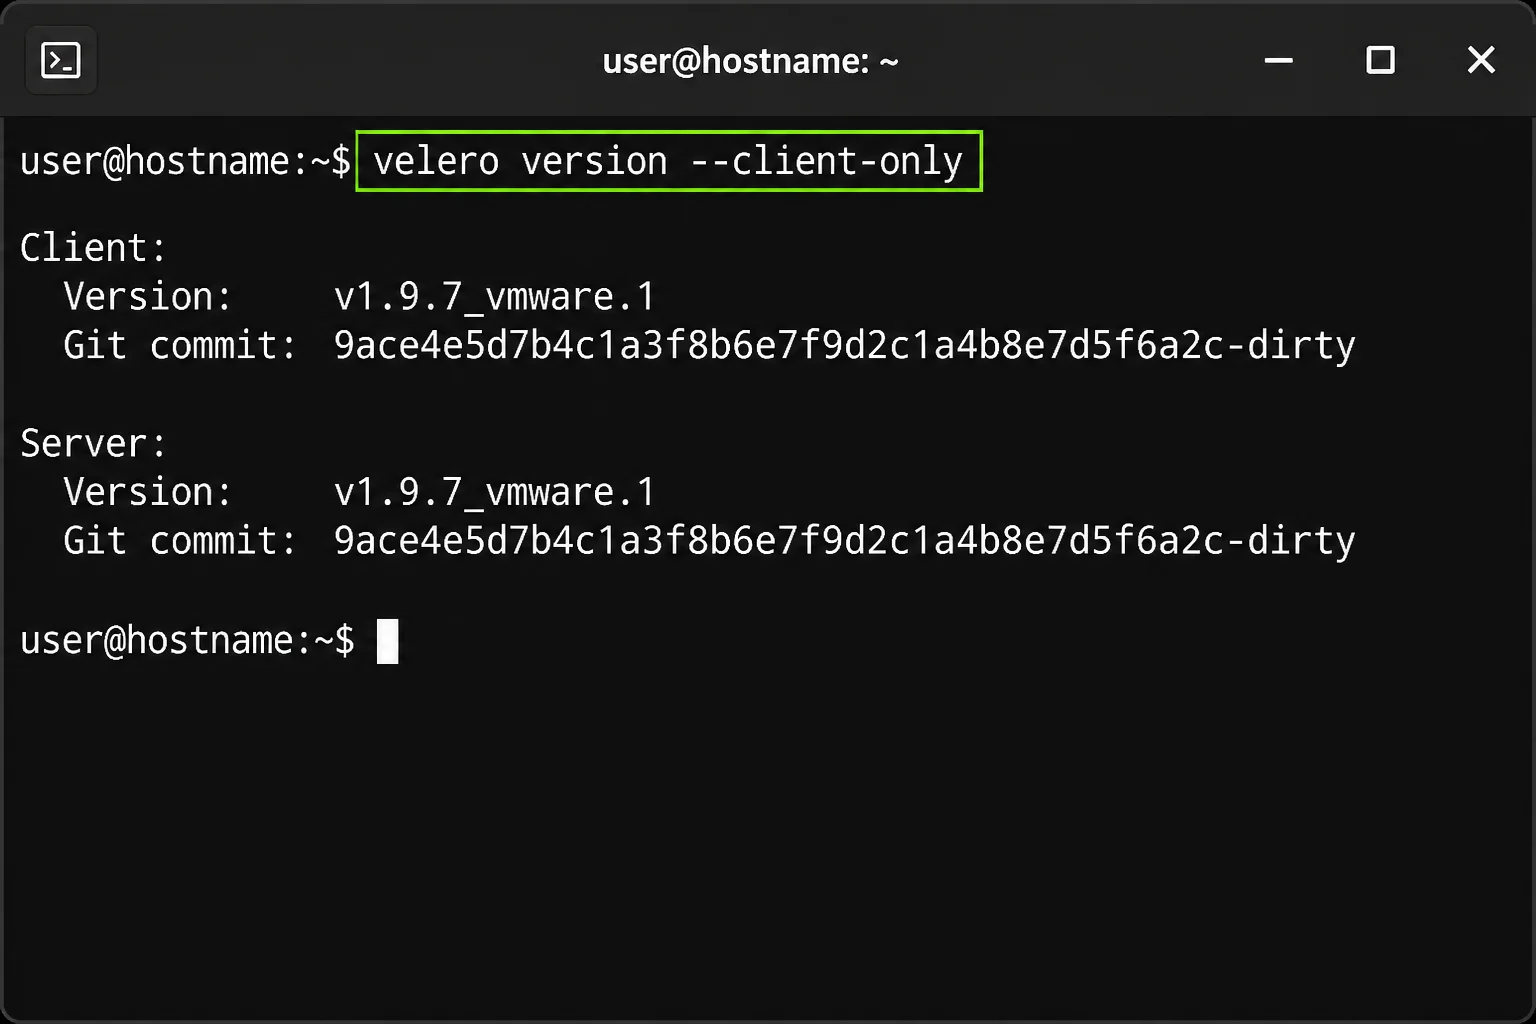
velero version --client-only
Expected output:
Client:
Version: v1.18.0
Git commit: –
macOS
Download the darwin build and place it on your PATH. If you use Homebrew, that’s the faster route:
brew install veleroOr manually:
VELERO_VERSION=v1.18.0
curl -fsSL -o velero.tar.gz \
  "https://github.com/velero-io/velero/releases/download/${VELERO_VERSION}/velero-${VELERO_VERSION}-darwin-amd64.tar.gz"
tar -xzf velero.tar.gz
chmod +x velero-${VELERO_VERSION}-darwin-amd64/velero
sudo mv velero-${VELERO_VERSION}-darwin-amd64/velero /usr/local/bin/velero
velero version --client-only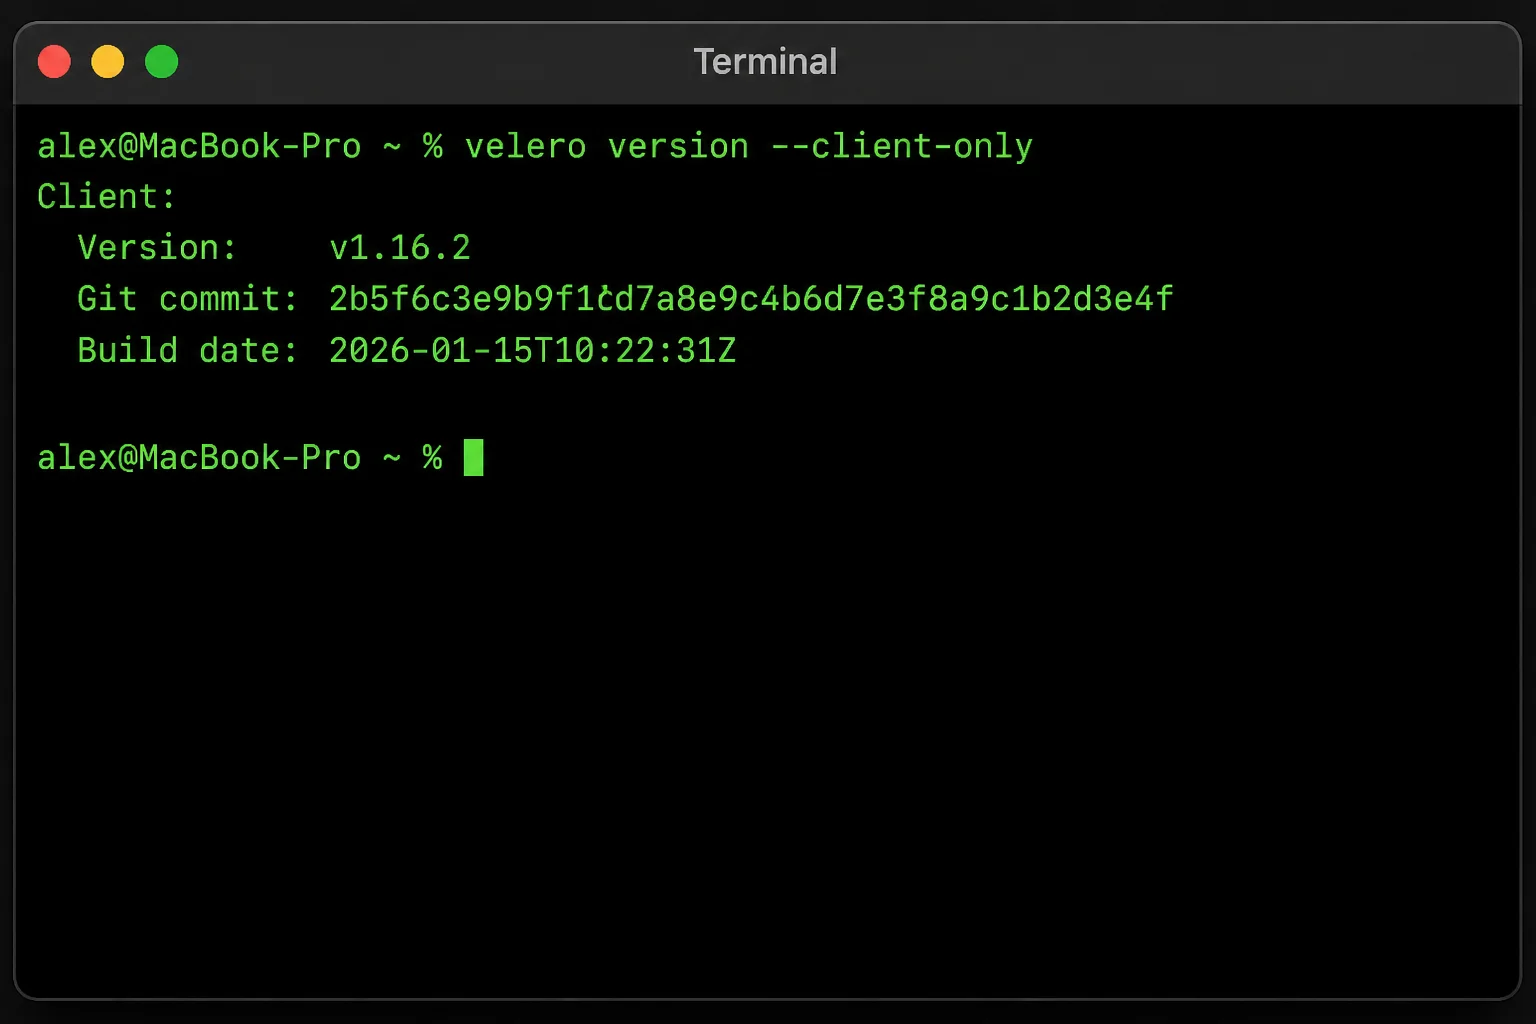
Windows
Download the Windows (amd64) build from the Velero GitHub Releases page. Extract it, then move velero.exe to a folder already on your PATH (for example, C:\Tools\velero\).
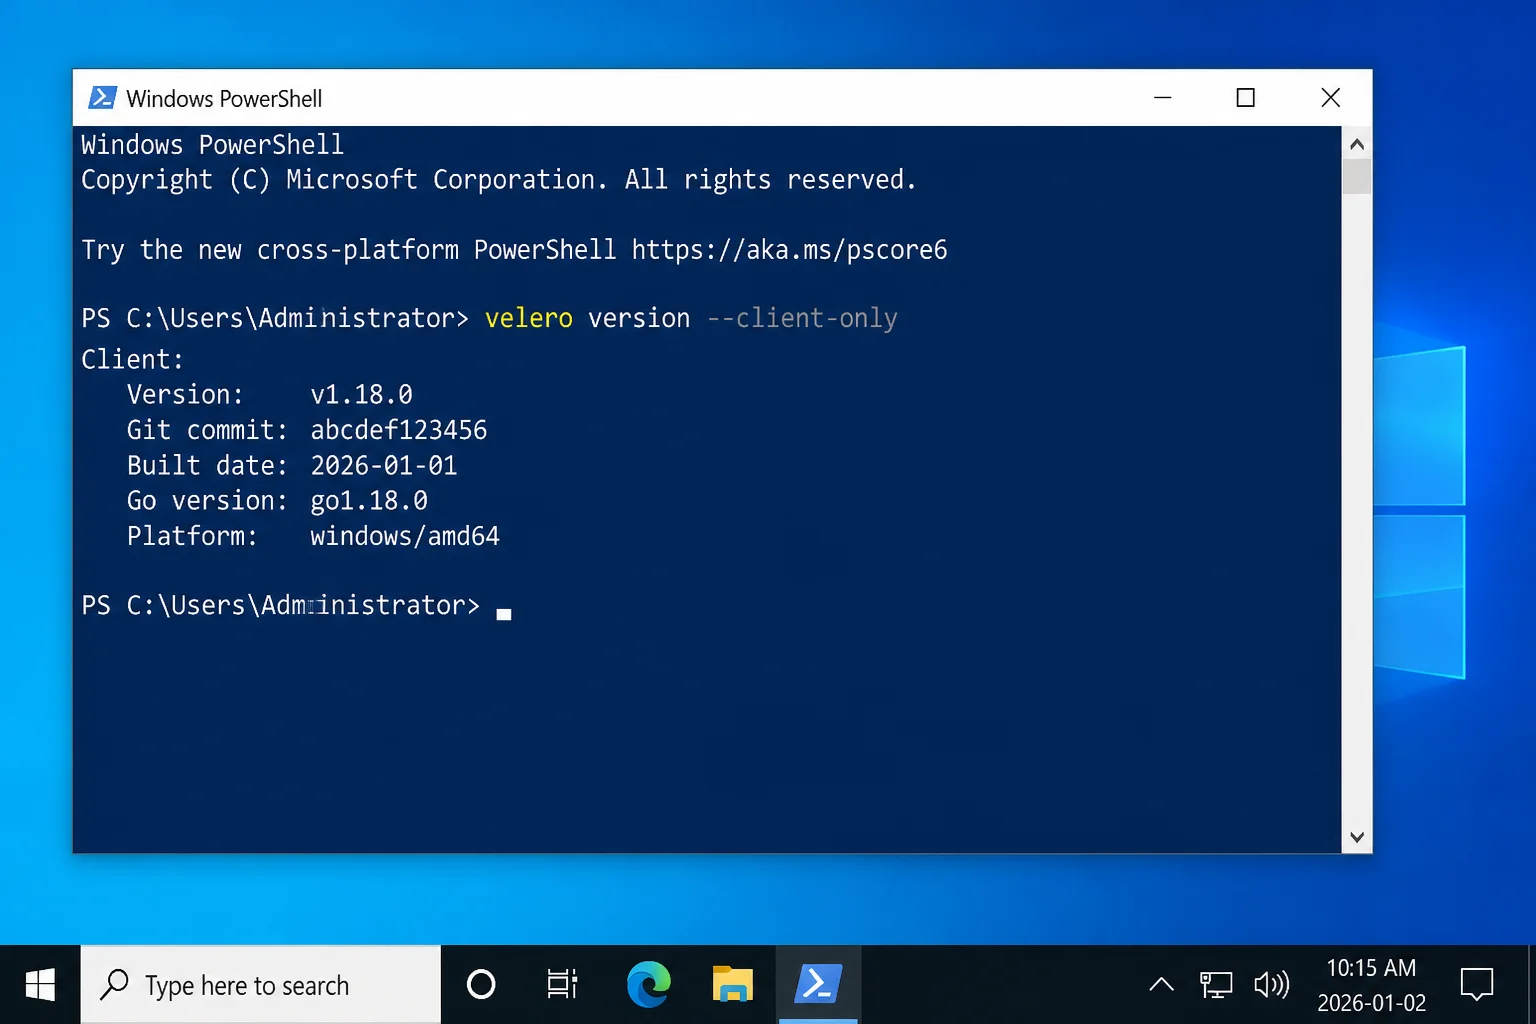
In PowerShell, confirm your kubeconfig context already points at the target cluster. Then verify the CLI:
velero version --client-onlyExpected output:
Client:
Version: v1.18.0
Git commit: –
Step 4: Install the Velero Server into Your Cluster
This step drops Velero’s controllers, CRDs, and (optionally) the Node Agent DaemonSet into a velero namespace. The command is identical across Linux, macOS, and Windows PowerShell. Only your kubectl context and the credentials-velero file path need to be right.
velero install \
  --provider aws \
  --plugins velero/velero-plugin-for-aws:v1.10.0 \
  --bucket my-velero-backups \
  --secret-file ./credentials-velero \
  --backup-location-config region=us-east-1 \
  --use-node-agent \
  --features=EnableCSI
Non-obvious flags explained:
--provider aws: even MinIO uses the AWS S3-compatible API, so this staysawsregardless of where your bucket actually lives--plugins velero/velero-plugin-for-aws:v1.10.0: the object storage plugin; pin this to a version tested against your Velero release--use-node-agent: deploys the file-level backup DaemonSet as a fallback for volumes without CSI snapshot support--features=EnableCSI: turns on CSI volume snapshot support if your storage class provides it
If you’re pointing at MinIO or another non-AWS endpoint, add --backup-location-config with an s3Url and s3ForcePathStyle=true:
velero install \
  --provider aws \
  --plugins velero/velero-plugin-for-aws:v1.10.0 \
  --bucket velero-backups \
  --secret-file ./credentials-velero \
  --backup-location-config region=us-east-1,s3Url=https://minio.example.com,s3ForcePathStyle=true \
  --use-node-agent \
  --features=EnableCSI
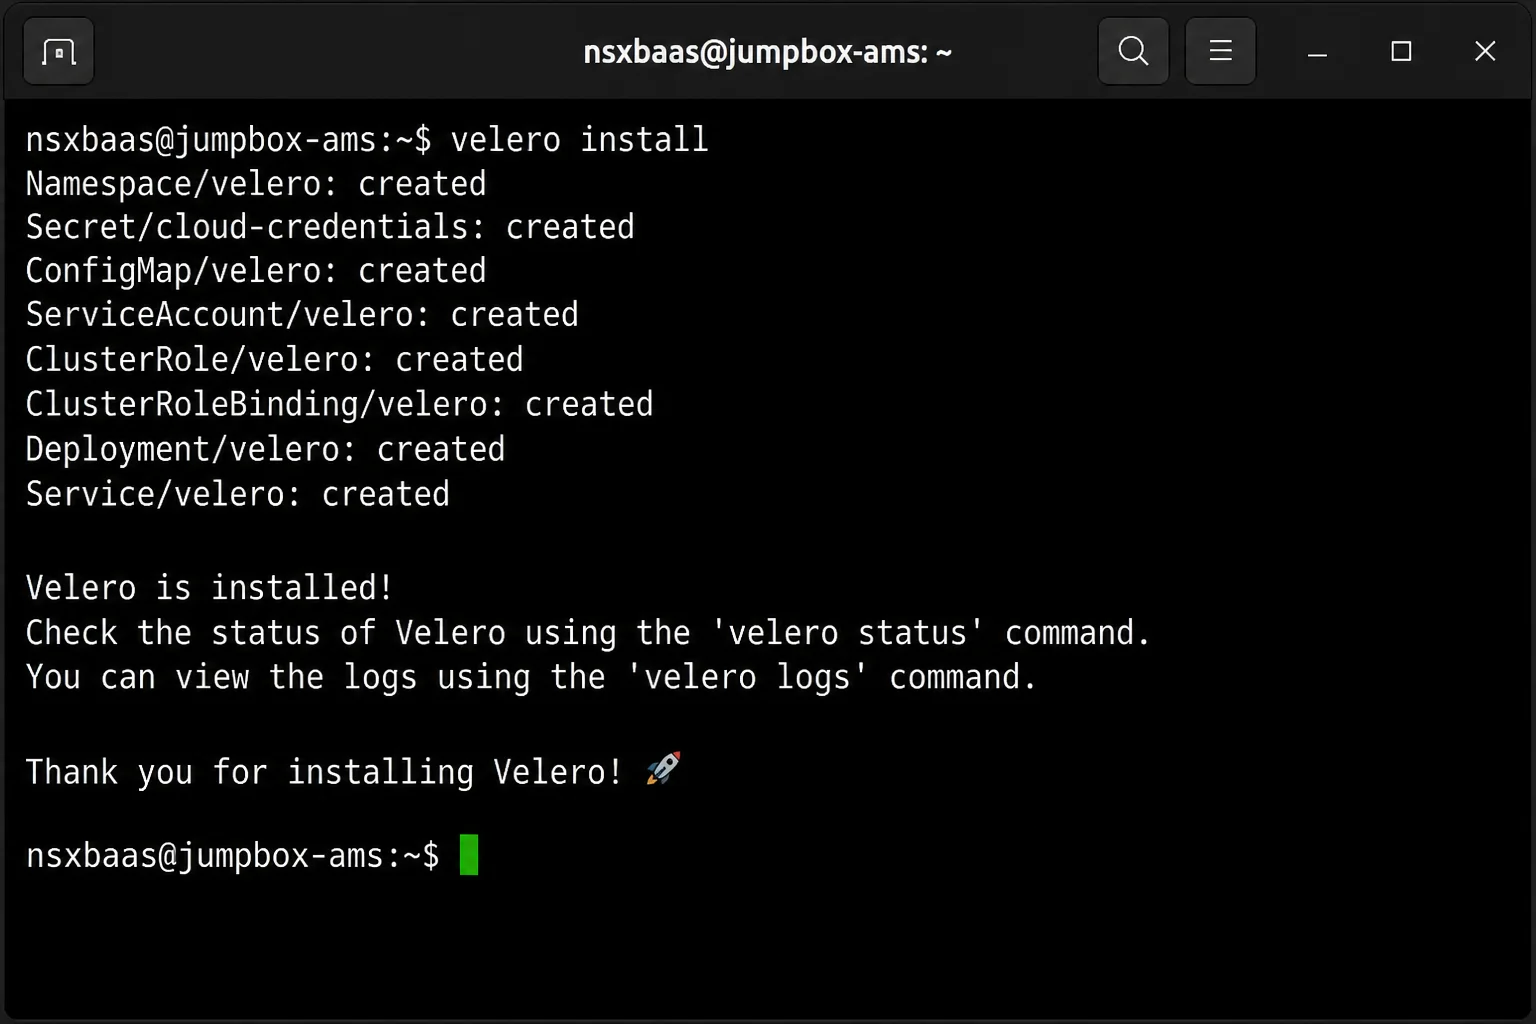
Expected output ends with:
Velero is installed! ⛵ Use ‘kubectl logs deployment/velero -n velero’ to view the status.
Step 5: Verify Velero Is Running
kubectl get pods -n veleroExpected output:
NAME READY STATUS RESTARTS AGE
node-agent-4x7k2 1/1 Running 0 90s
node-agent-9mvqz 1/1 Running 0 90s
velero-7b6f9c8d4c-p2vln 1/1 Running 0 90s
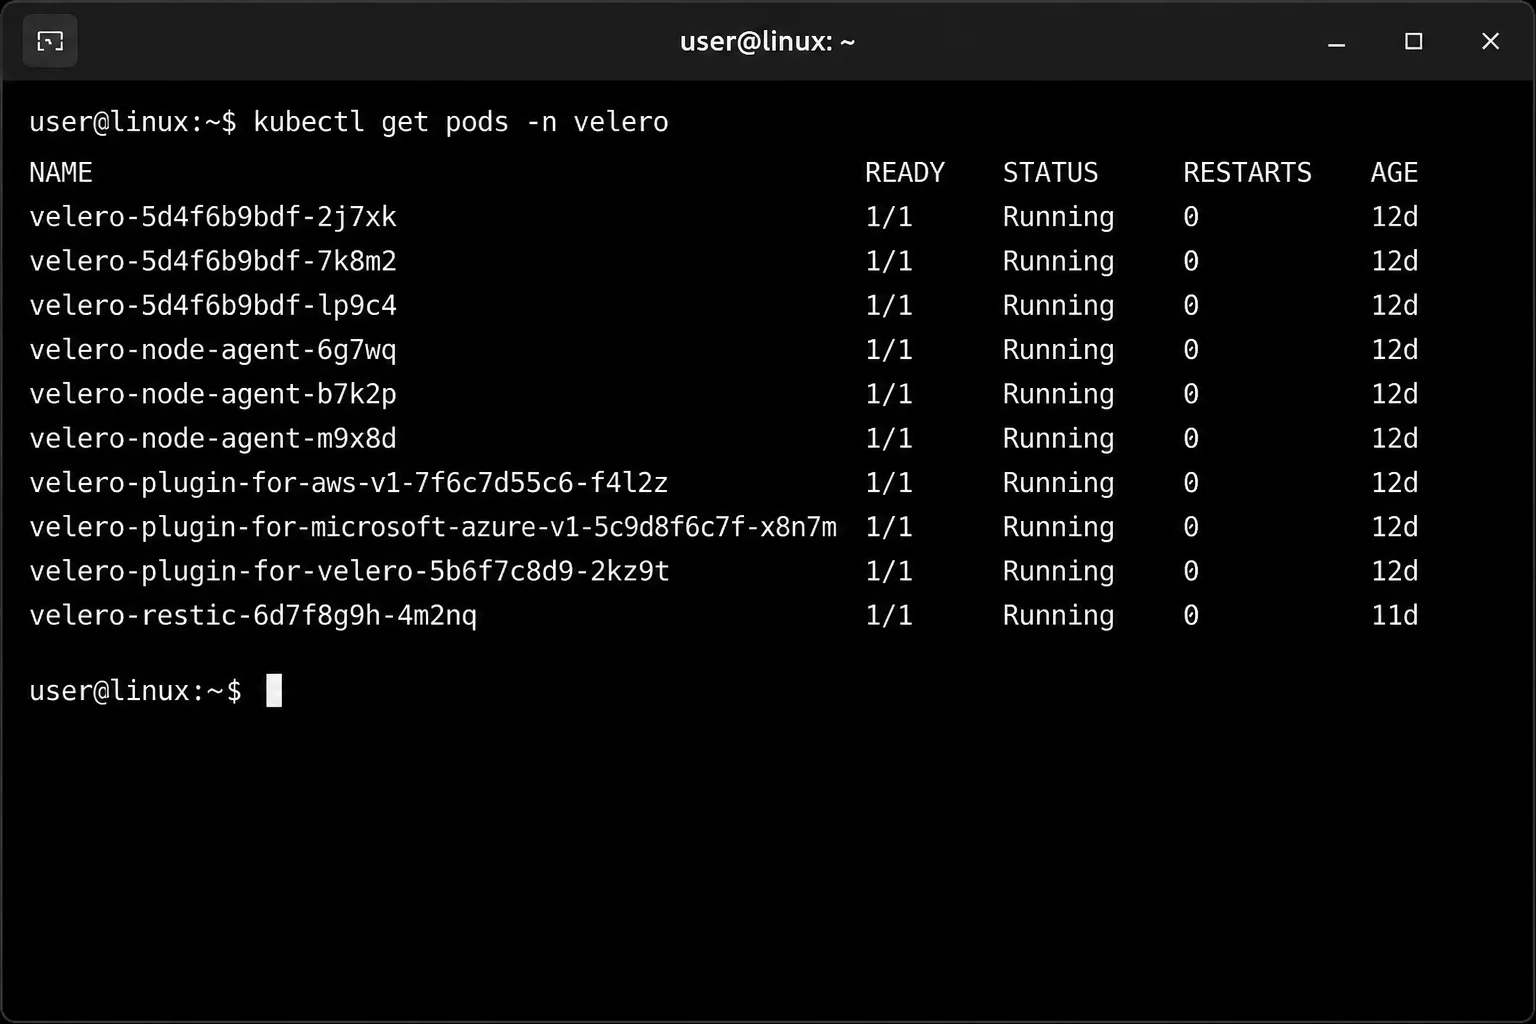
If you see ImagePullBackOff or CrashLoopBackOff, jump to the Troubleshooting section below before continuing. It’s usually a five-minute fix, not a sign you broke something fundamental.
Step 6: Add Pre/Post Backup Hooks to Your PostgreSQL StatefulSet
This is the step people skip, and regret. Skip the hook, and Velero snapshots the volume in whatever state PostgreSQL happens to be in: mid-write, mid-checkpoint, doesn’t matter. You want a consistent state, not a coin flip.
Edit your PostgreSQL StatefulSet manifest and add annotations to the pod template. This example uses pg_backup_start()/pg_backup_stop() (PostgreSQL 15+; use pg_start_backup()/pg_stop_backup() on PostgreSQL 14 and earlier):
# postgres-statefulset.yaml (pod template section)
spec:
  template:
    metadata:
      annotations:
        pre.hook.backup.velero.io/container: postgres
        pre.hook.backup.velero.io/command: '["/bin/bash", "-c", "psql -U postgres -c \"SELECT pg_backup_start(''velero-backup'');\""]'
        pre.hook.backup.velero.io/timeout: 5m
        post.hook.backup.velero.io/container: postgres
        post.hook.backup.velero.io/command: '["/bin/bash", "-c", "psql -U postgres -c \"SELECT pg_backup_stop();\""]'
        post.hook.backup.velero.io/timeout: 5m
        backup.velero.io/backup-volumes: pgdata
Apply it:
kubectl apply -f postgres-statefulset.yamlThe backup.velero.io/backup-volumes annotation tells the Node Agent which mounted volume to back up at the file level. Replace pgdata with the volume name in your StatefulSet’s volumeMounts. If you’re using CSI snapshots instead of the Node Agent, you can skip this annotation. The pre/post hooks are still required.
Step 7: Run a Manual Backup
Before you automate anything, run one backup by hand and watch it complete. You want to see the hooks actually fire, not assume they did.
velero backup create postgres-manual-test \
  --include-namespaces postgres \
  --wait
Expected output:
Backup request “postgres-manual-test” submitted successfully.
Waiting for backup to complete. You may safely press ctrl-c to stop waiting – your backup will continue in the background.
…..
Backup completed with status: Completed. You may check for more information using the commands `velero backup describe postgres-manual-test` and `velero backup logs postgres-manual-test`.
Check it:
velero get backupsNAME STATUS ERRORS WARNINGS CREATED EXPIRES STORAGE LOCATION SELECTOR
postgres-manual-test Completed 0 0 2026-08-19 09:14:02 -0400 EDT 29d default <none>
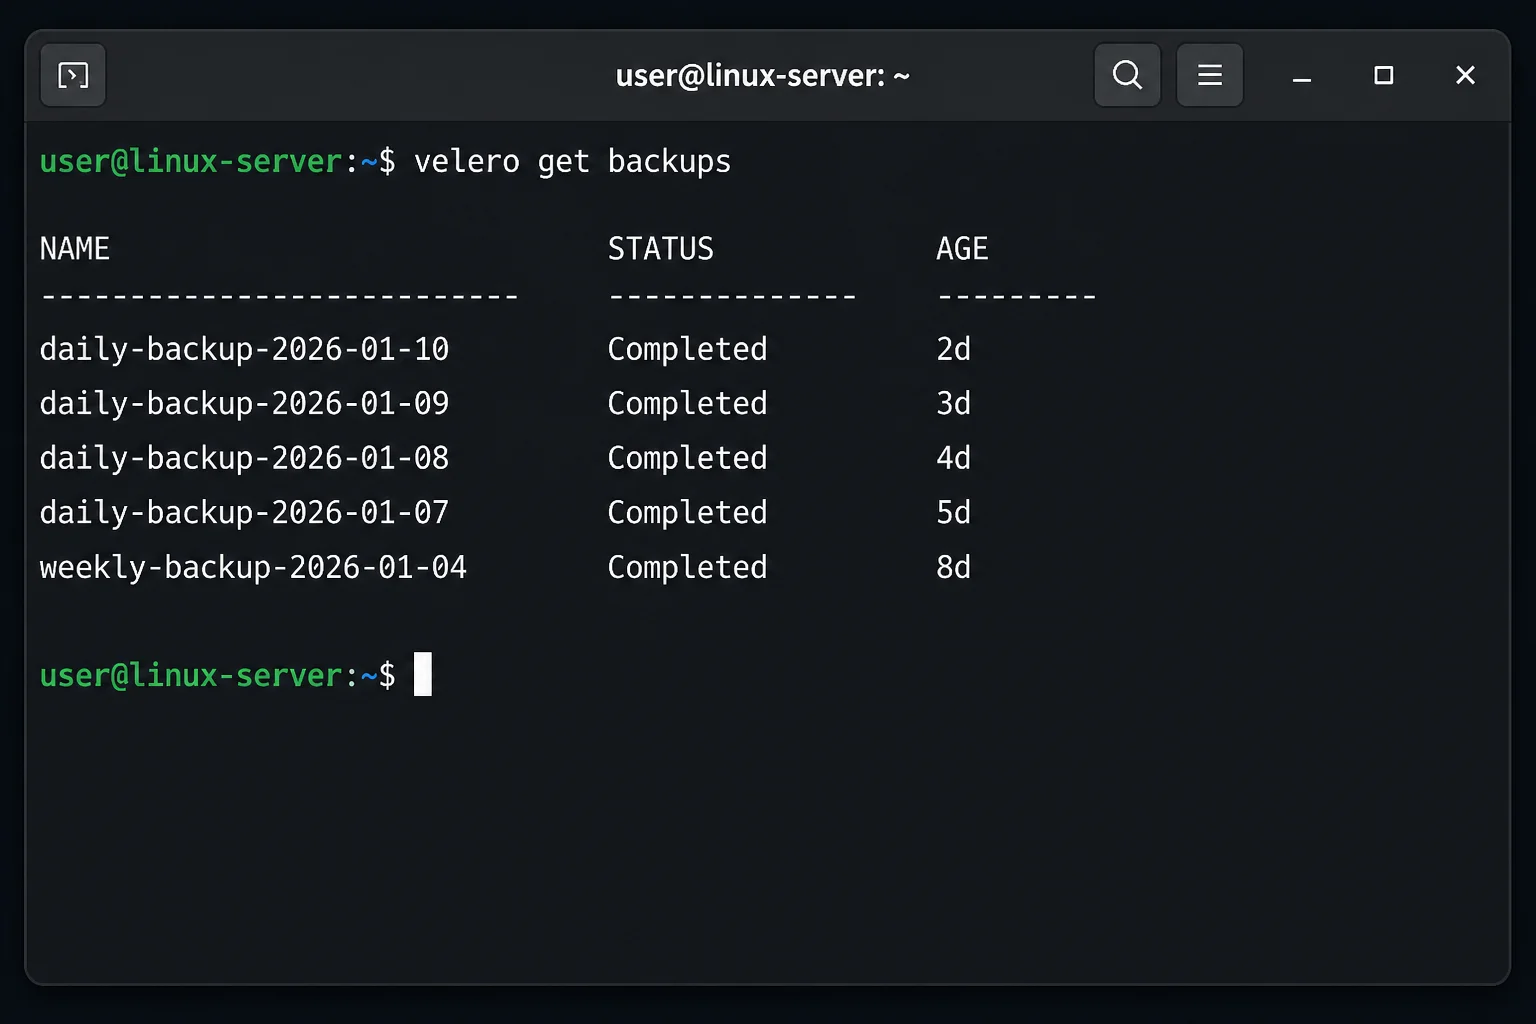
If STATUS shows PartiallyFailed or Failed, run velero backup describe postgres-manual-test --details to see exactly which resource or hook failed.
Step 8: Schedule Automated Recurring Backups
Once a manual backup succeeds, automate it. Velero schedules use standard cron syntax.
velero schedule create postgres-nightly \
  --schedule="0 2 * * *" \
  --include-namespaces postgres \
  --ttl 168h
--schedule="0 2 * * *": runs at 2:00 AM daily (cron syntax; addCRON_TZ=America/New_Yorkprefix if you need a specific timezone)--ttl 168h: retains each backup for 7 days before Velero auto-expires it; the Velero default is 720h (30 days) if you omit this flag
Expected output:
Schedule “postgres-nightly” created successfully.
Confirm it:
velero schedule getNAME STATUS CREATED SCHEDULE BACKUP TTL LAST BACKUP SELECTOR PAUSED
postgres-nightly Enabled 2026-08-19 09:20:11 -0400 EDT 0 2 * * * 168h0m0s n/a <none> false
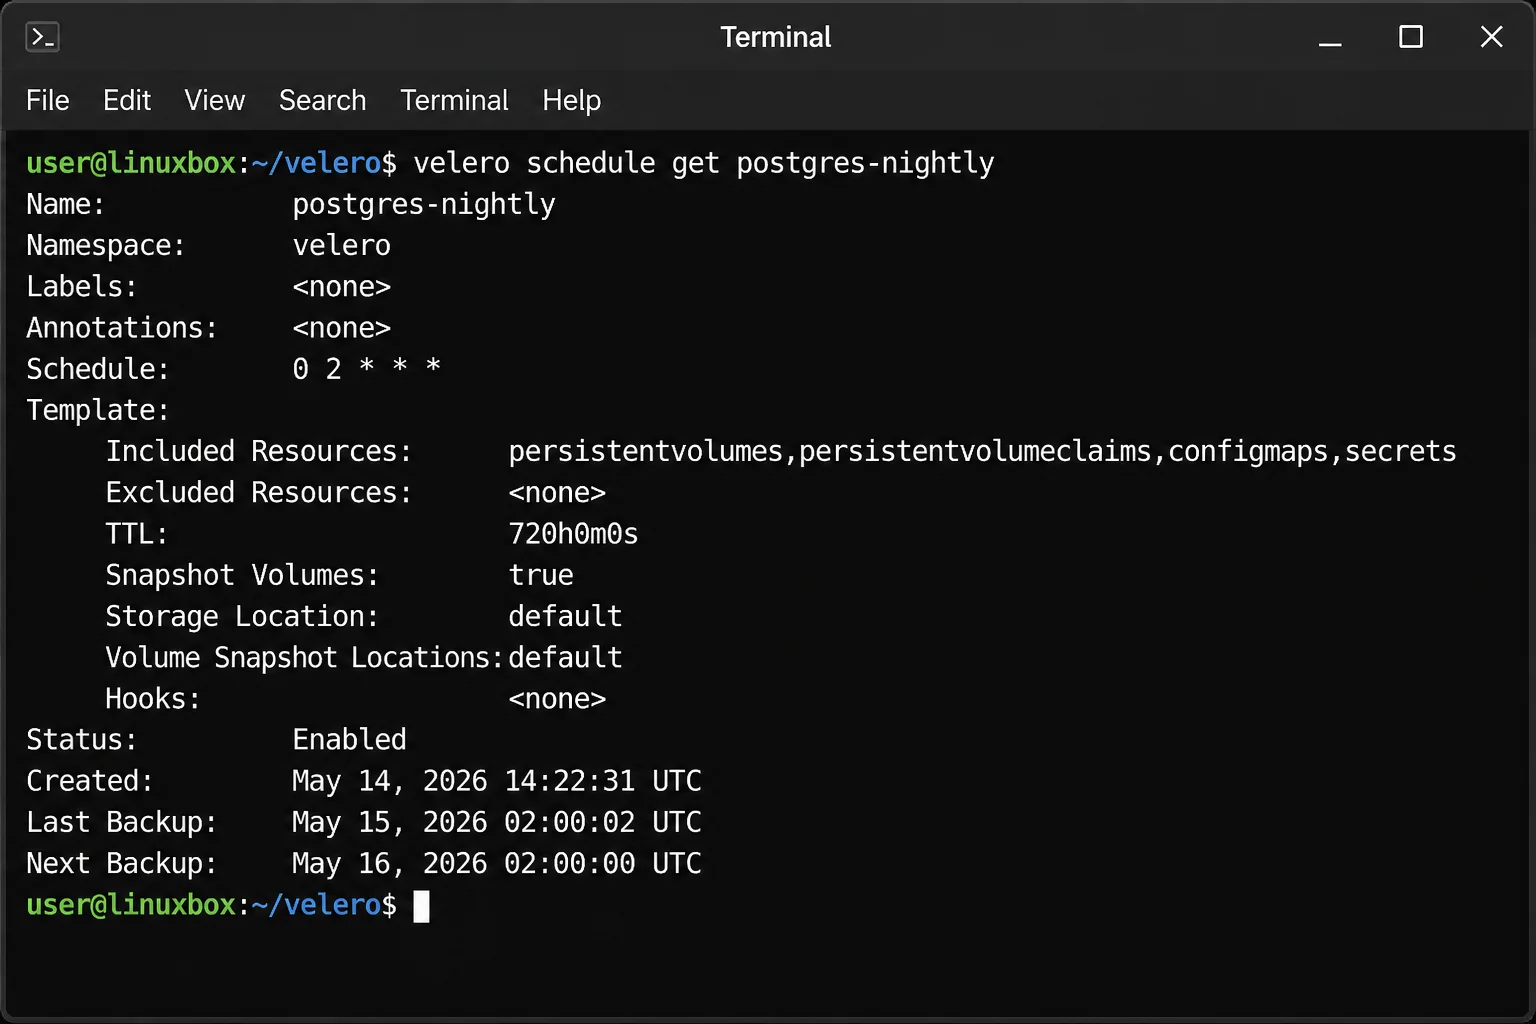
For teams wanting finer retention control, run separate schedules for daily and weekly cadences with different TTLs. For example: postgres-daily at 24h with a 7-day TTL, postgres-weekly at Sunday 3 AM with a 90-day TTL.
Configuration: Volume Snapshots vs. File-Level Backups
Velero gives you two mechanisms for copying your PostgreSQL data. Picking the right one matters more than most of the CLI flags above.
| Aspect | CSI Volume Snapshots | Node Agent (File-Level) |
|---|---|---|
| Speed | Fast: storage-layer copy-on-write | Slower: reads and copies files directly |
| Requirement | Storage class must support CSI snapshots | Works on any storage, including local-path and NFS |
| Cluster load | Minimal: offloaded to the storage provider | Higher: CPU/network cost of reading through the volume |
| Cross-cluster restore | Depends on provider support | More portable: data is copied as plain files |
| Best for | Cloud-managed storage (EBS, GCE PD, Azure Disk, Ceph RBD with CSI) | Homelab/on-prem storage without snapshot support (NFS, local-path-provisioner) |
Check whether your storage class supports snapshots:
kubectl get volumesnapshotclassIf that returns results, you’re set up for --features=EnableCSI. If it returns nothing, or your cluster uses local-path or NFS-backed PVs, fall back to --use-node-agent and the backup.velero.io/backup-volumes annotation. This is the common homelab situation: MinIO for storage, a bare-metal CSI driver with no snapshot support. The Node Agent exists exactly for this. You can enable both at install time. Velero picks CSI snapshots when your storage class supports them, and falls back to file-level backup when it doesn’t.
Testing a Real Restore into a New Namespace
You haven’t proven a backup works until you’ve restored it. This step proves the disaster recovery story actually holds up. It’s safe to run against production too; you’re restoring into a brand-new namespace and never touching the live database.
Step 9: Restore into a New Namespace
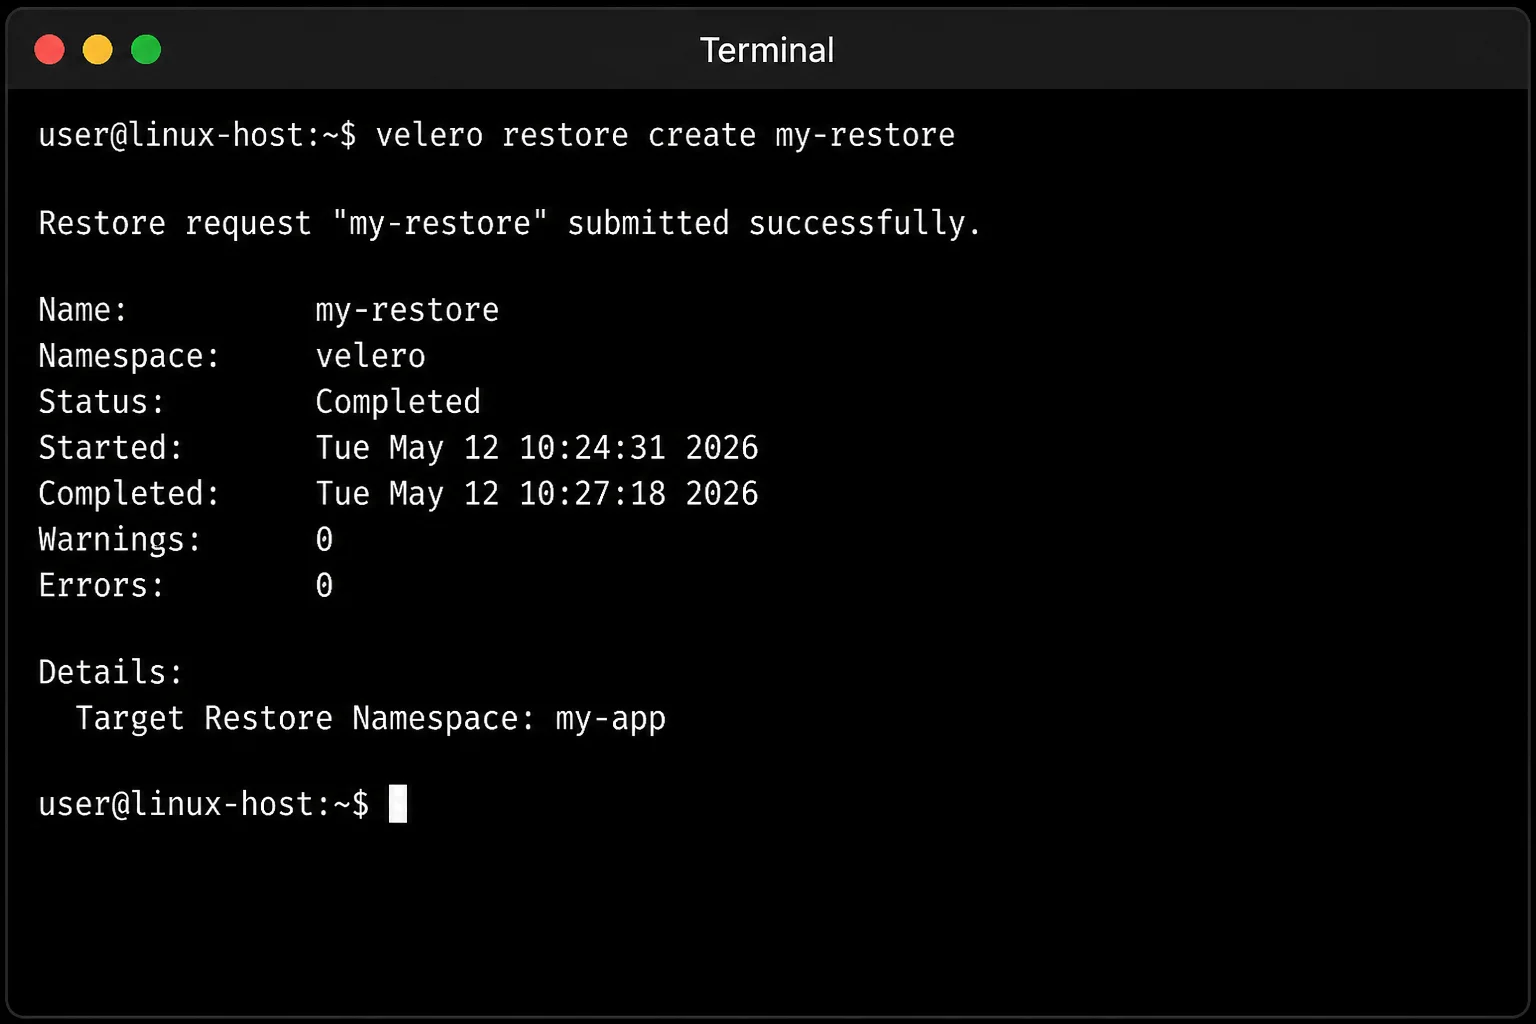
velero restore create postgres-restore-test \
  --from-backup postgres-nightly-20260818020000 \
  --namespace-mappings postgres:postgres-restore-test \
--wait--from-backup: the exact backup name; get it fromvelero get backups--namespace-mappings postgres:postgres-restore-test: remaps every resource from the originalpostgresnamespace into a newpostgres-restore-testnamespace, so the live database is never touched
Expected output:
Restore request “postgres-restore-test” submitted successfully.
Waiting for restore to complete. You may safely press ctrl-c to stop waiting – your restore will continue in the background.
…….
Restore completed with status: Completed. You may check for more information using the commands `velero restore describe postgres-restore-test` and `velero restore logs postgres-restore-test`.
Check status:
velero get restoresNAME BACKUP STATUS STARTED COMPLETED ERRORS WARNINGS CREATED
postgres-restore-test postgres-nightly-20260818020000 Completed 2026-08-19 09:35:44 -0400 EDT 2026-08-19 09:37:02 -0400 EDT 0 0 2026-08-19 09:35:44 -0400 EDT
Confirm the pod actually came up:
kubectl get pods -n postgres-restore-testNAME READY STATUS RESTARTS AGE
postgres-0 1/1 Running 0 2m14s
Step 10: Verify Data Integrity After the Restore
A Completed restore status only means Velero copied the objects and volume data without error. It doesn’t confirm PostgreSQL came up healthy, or that the data is intact. Check both.
First, confirm PostgreSQL actually started cleanly:
kubectl logs postgres-0 -n postgres-restore-test | tail -20Look for database system is ready to accept connections near the end, not a crash loop or recovery error.
Next, connect and run integrity checks against the restored instance:
kubectl exec -it postgres-0 -n postgres-restore-test -- psql -U postgres -c "\l"This lists databases; confirm your application database is present. Then spot-check row counts against what you’d expect (compare to a known count from before the backup, or from monitoring):
kubectl exec -it postgres-0 -n postgres-restore-test -- psql -U postgres -d myappdb -c "\dt"For a more thorough check, run PostgreSQL’s built-in consistency check on critical tables. Better yet, run your application’s own migration or health-check script against the restored instance, if you have one. If the row counts and table structure match, and the app connects without error, you know the backup works.
Once you’ve confirmed integrity, clean up the test namespace so it doesn’t linger as a stale copy of production data:
kubectl delete namespace postgres-restore-testWarning:
kubectl delete namespaceremoves everything in that namespace, including PVCs and their underlying volumes. Only run this against the test restore namespace, never against your livepostgresnamespace.
Monitoring Backup Job Health
A schedule that silently stops working is worse than no schedule at all, because you think you’re protected. Build a habit (or better, automation) around checking backup health.
Manually check recent backup status:
velero get backupsScan the STATUS column for anything other than Completed. PartiallyFailed usually means a hook failed or a resource couldn’t be backed up. Failed usually means storage connectivity or permissions issues.
For a specific backup, get details including hook execution:
velero backup describe postgres-nightly-20260818020000 --detailsFor actual alerting instead of manually checking, two practical options:
- Cron + script. Run
velero backup describe <latest> -o jsonon a schedule slightly after your backup window. Parse thestatus.phasefield, and alert (Slack webhook, email, PagerDuty) if it’s notCompleted. - Prometheus + Velero metrics. Velero exposes Prometheus metrics on port
8085by default (velero_backup_success_total,velero_backup_failure_total,velero_backup_last_successful_timestamp). Scrape these and alert onvelero_backup_last_successful_timestampgoing stale. That catches a schedule that stopped firing entirely, not just one that failed.
Either approach beats discovering a six-month-old backup failure the day you actually need to restore.
Tips and Troubleshooting
Restored PostgreSQL data is corrupted or won’t start
Why it happens: The volume was backed up while PostgreSQL was actively writing, with no pre/post hooks, capturing a torn mid-write state.
Fix: Add pre.hook.backup.velero.io/command and post.hook.backup.velero.io/command annotations (Step 6) so pg_backup_start()/pg_backup_stop() runs before and after the volume is snapshotted. Re-run a manual backup and test-restore to confirm the fix before trusting the schedule.
Backup hook times out or fails silently
Why it happens: The hook’s timeout is too short. Or the container name in the annotation doesn’t match the actual container name in your pod spec. Or psql isn’t available in that container’s image.
Fix: Increase pre.hook.backup.velero.io/timeout and post.hook.backup.velero.io/timeout to 5m. Verify the container name with kubectl get pod postgres-0 -n postgres -o jsonpath='{.spec.containers[*].name}', and confirm psql exists in that image with kubectl exec -it postgres-0 -n postgres -- which psql.
Restore completes but the data volume is empty
Why it happens: The backup.velero.io/backup-volumes annotation wasn’t set on the pod template. Velero backed up the Kubernetes objects (StatefulSet, Service, Secret) but skipped the actual PVC data.
Fix: Add the backup.velero.io/backup-volumes annotation naming your exact volume (Step 6), re-apply the StatefulSet, and run a fresh backup. Old backups taken before the annotation was added won’t retroactively have volume data.
Old backups disappear unexpectedly
Why it happens: Velero’s default retention is 720h (30 days) unless you explicitly set --ttl.
Fix: Set --ttl explicitly on every backup create or schedule create command to match your actual retention policy. Use 168h for 7 days, 2160h for 90 days, and so on.
velero install or plugin errors after upgrading
Why it happens: The Velero CLI client version doesn’t match the server version running in-cluster. Or the velero-plugin-for-aws image tag is outdated relative to your Velero release.
Fix: Match your client binary to your server’s release line, velero version shows both. Check the Velero GitHub Releases page for the plugin version recommended for your release before upgrading.
ImagePullBackOff on Velero or Node Agent pods
Why it happens: Usually a typo in the plugin image tag. Or the cluster’s nodes can’t reach the container registry, common in air-gapped or restrictive homelab networks.
Fix: Run kubectl describe pod <pod-name> -n velero and check the Events section for the exact pull error. Confirm the plugin tag exists on Docker Hub, and verify outbound network access from your nodes.
Wrapping Up
You now have Velero backing up PostgreSQL on a schedule. Hooks are in place so each backup captures a consistent state instead of a coin-flip snapshot. And you’ve done an actual restore into a new namespace to prove all of it works. That last part is the piece most teams skip. It’s also the one that matters most when you’re restoring under pressure at 3 AM.
My take: Velero’s CLI-first, free model is the right fit for most self-managed PostgreSQL-on-Kubernetes setups. The catch: the CSI-vs-Node-Agent choice and the hook configuration are easy to get subtly wrong. The backup finishes, the restore finishes, and only a close look at Step 10 tells you whether the data’s actually there. Build that verification into your routine now, before a failed restore does it for you.
| Step | Action | Applies To |
|---|---|---|
| 1–2 | Create bucket and credentials file | Object storage setup |
| 3–5 | Install Velero CLI and server, verify pods running | All platforms |
| 6 | Add pre/post backup hooks to PostgreSQL StatefulSet | Data consistency |
| 7–8 | Run manual backup, then schedule recurring backups | Automation |
| 9–10 | Restore into new namespace, verify data integrity | Disaster recovery test |
| Ongoing | Monitor velero get backups / Prometheus metrics | Health monitoring |