In the following tutorial, we will see how to deploy a simple Active Directory Certificate Services installation and configure it as a Standalone CA.
Our first step is to go to Server Manager, Add/Remove roles, and start the installation process. Under Roles, we select Active Directory Certificate Services.
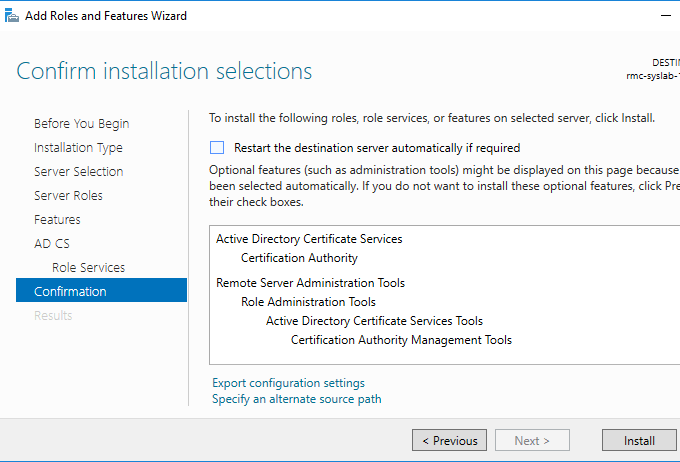
Next, we need to choose which role we want for this ADCS server. We have several options, but for this tutorial, we will pick Certification Authority. Then we click Next and Install.
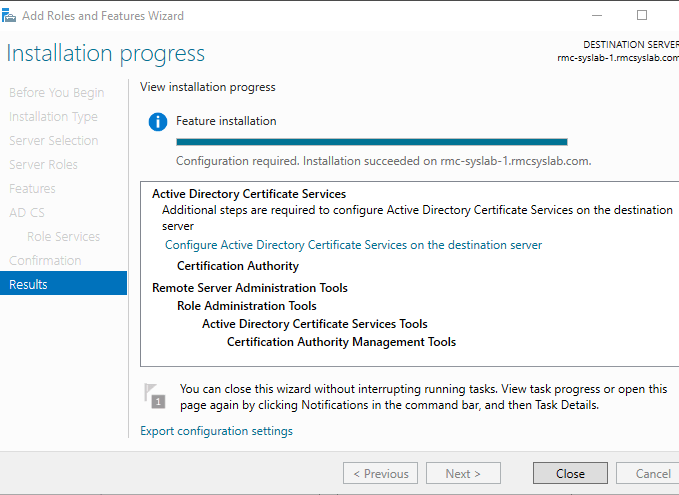
Once the installation is complete, we click on the Configure Active Directory Certificate Services on the destination server hyperlink inside the completion prompt.
Now that we have the binaries for the ADCS service installed, let’s configure it exactly with the settings we require.
The first prompt will allow us to enter the credentials that we want to use during the configuration steps. Please keep in mind, that if we give it a Domain Admin user, which is not part of the Enterprise Admins group, then we will only be able to install a Standalone CA, which is not dependent on AD.
If we want to install an Enterprise CA, then we have to give the prompt a user, which is part of the Enterprise Admins group.
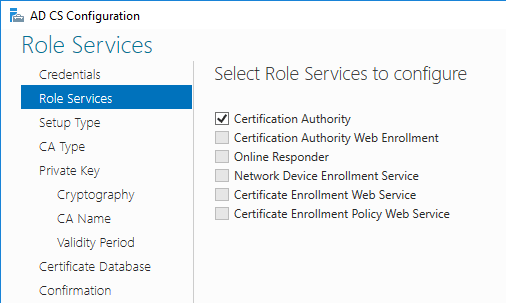
Since we only installed the Certification Authority role, in the next screen we will have all the other options greyed out. We will look at the other options in another tutorial. For now, we leave the default Certification Authority checked and hit Next.
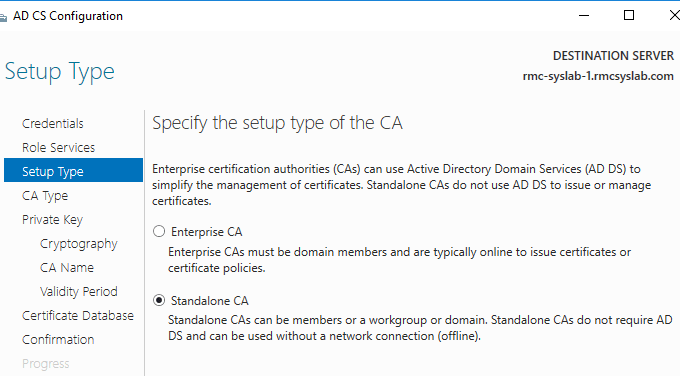
On our next prompt, we choose the path we want to go on. Either an Enterprise CA or a Standalone CA. The difference between the two is that an Enterprise CA relies heavily on AD, gives you the option for automation deployment of certificates, works on the Forest level and so forth.
The standalone CA is not reliant on AD, can be installed in a Workgroup environment, and does not require an actual network connection since the issuing of certificates is done manually. For a small environment with a handful of servers and workstations, I recommend a Standalone CA since the configuration overhead is much less.
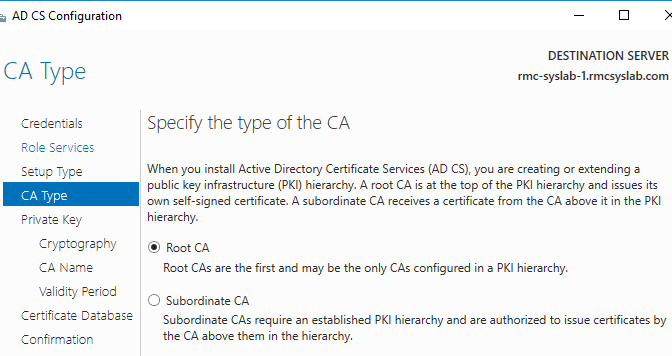
Next we choose if we want a Root CA or a Subordinate CA. Since this is the first ADCS server in our environment, we will choose Root CA.
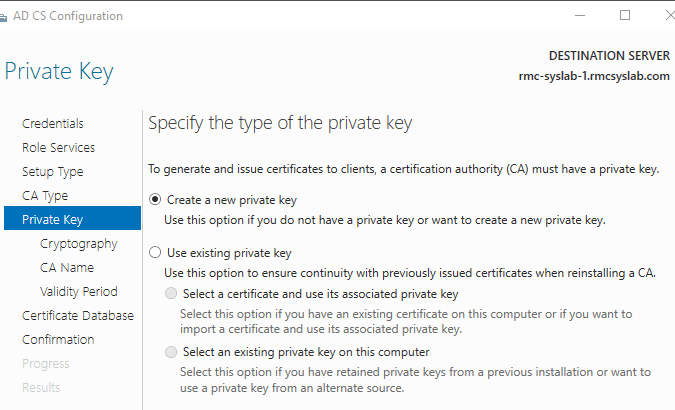
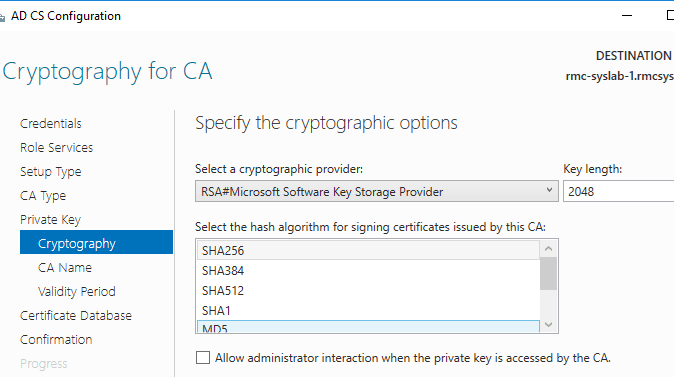
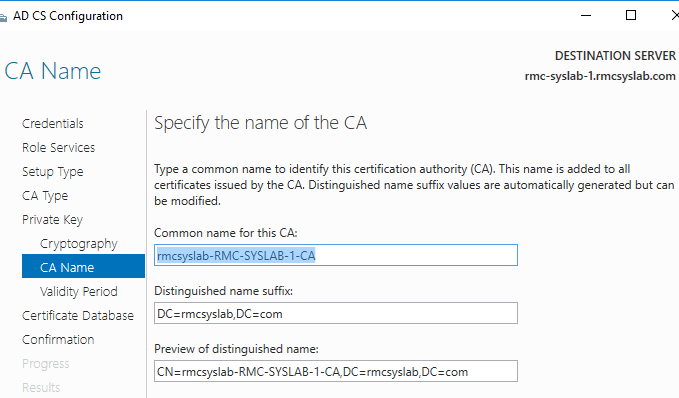
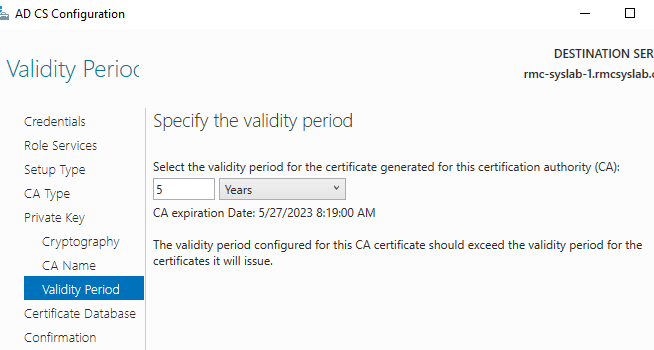
The next steps are all left to their default values. We create a new private key, leave the algorithm at RSA by default, the name, the validity period and the database location. Of course in a larger environment where we either have strict rules that we need to follow, we would customize those. But for the purpose of this tutorial, we will leave them by default.
Also keep in mind that the validity period needs to be higher than the highest validity you give your client certificates. Personally, I usually put it at 10 years instead the default of 5, but that’s your choice.
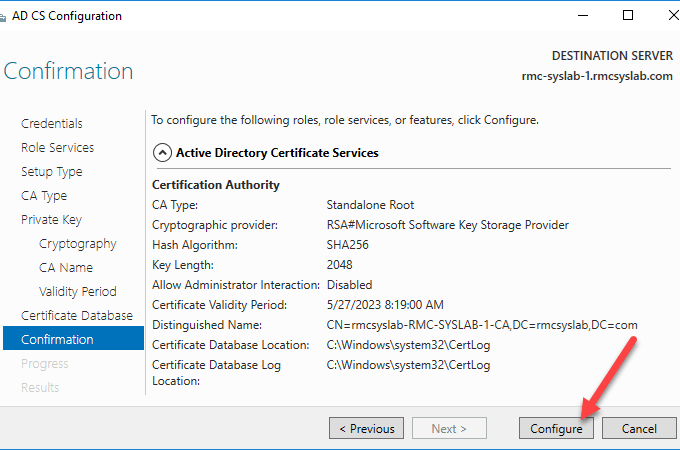
Once we are past the configuration prompts, we will finally get to our confirmation page. Make sure everything is in order and then click on the Configure button.
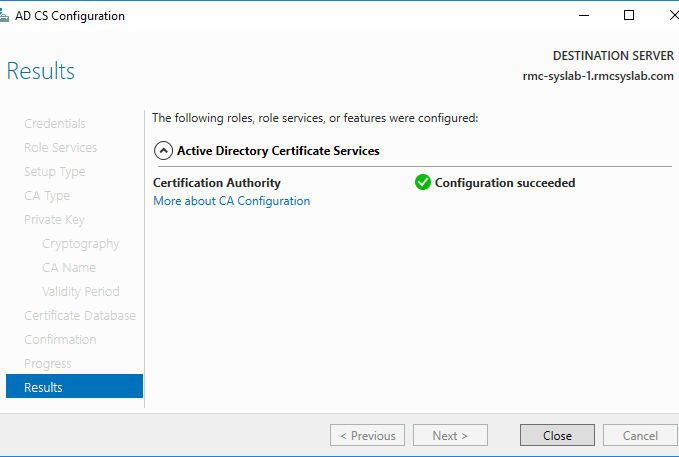
Once that installation is complete, we can go into our CA Administration Console and start issuing certificates.
Thank you for taking the time reading this tutorial and there will be many more posts coming related to ADCS. Enjoy!


