After setting up a new installation of ESXi on my refurbished Dell PowerEdge server, I realized that the datastore was only using two of the six SAS drives installed on the system. This was because two of the drives were in a RAID 1 configuration and the other four drives were in a RAID 5 configuration.
Since I’m only using the server for running VMs, I decided to expand the datastore to include the rest of the space on the second RAID array. Note that you can also create a new datastore if you prefer to keep ESXi hypervisor on one datastore and all your VMs in a separate datastore. The procedure is mostly the same, except you would click on New datastore in the steps below rather than Increase capacity.
Increase Datastore Capacity for ESXi
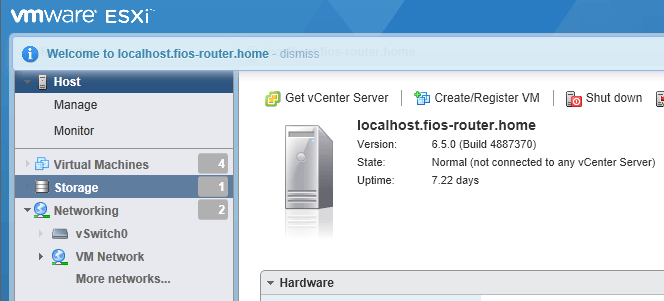
To get started, log into the ESXi web interface and click on Storage in the left-hand menu.
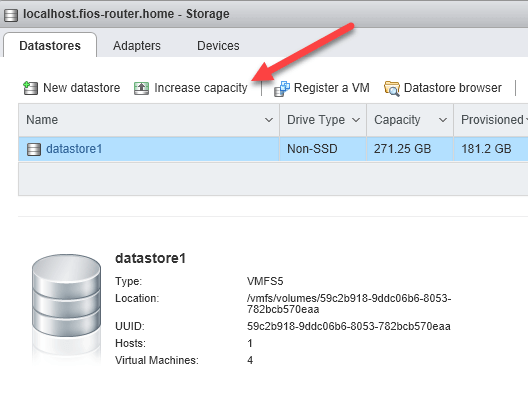
You should now see a list of the current datastores on the ESXi server along with information about the datastore, i.e. capacity, free space, drive type, etc. Click on the datastore you want to expand to select it.
Once selected, the Increase capacity link will become available. Note that if you want to create a new datastore, you would click on the New datastore link instead.
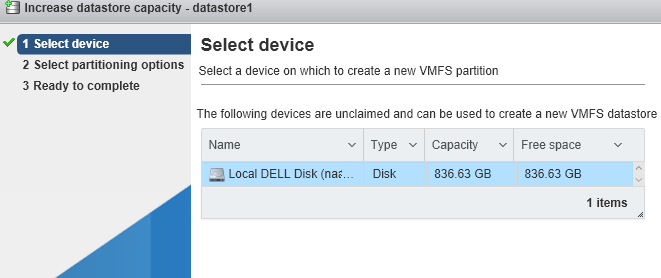
On this screen, it will list out any storage that is currently installed on the system, but not being used. You have to select the device on which you want to create the VMFS partition. In my case, the four 300GB NAS drives show up as a single disk with a capacity of around 836 GB. If you’re not seeing any device here to select, that means you need to first add the storage to your server or you have to properly provision it so that it shows up as a disk on the system.
Next, you have to select the partitioning options. You can either use the full disk space or you can choose to create a smaller partition and leave some free space. You also have to choose the VMFS version, which in my case was either VMFS 5 or VMFS 6. Since the original datastore was on VMFS 5, I kept the value the same for the increased storage. If you want to understand the difference between VMFS 5 and 6, check out the article linked here.
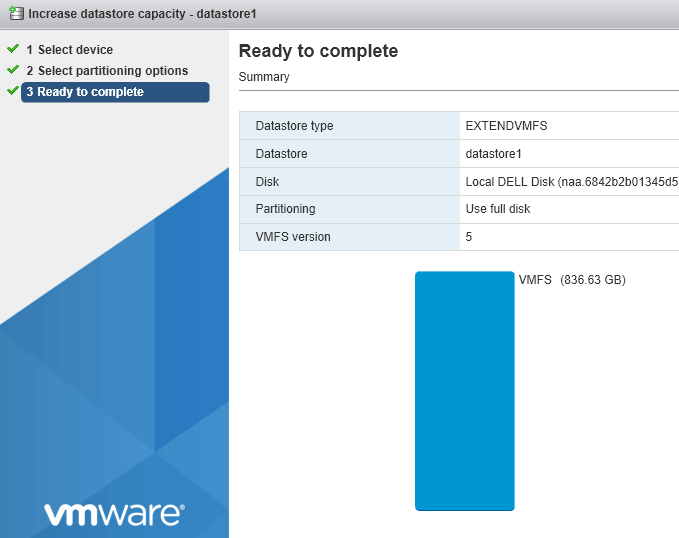
The last screen is just a summary of all the options you selected previously. Click Finish and ESXi will go ahead and increase the capacity of your datastore.
As you can see, the ESXi server now has a capacity of 1.08 TB, up from 271 GB earlier.
That’s about it! Expanding your datastore in ESXi is a fairly simple process via the web GUI. If you have any questions, feel free to comment. Enjoy!


