The following article will show you how to install and configure a FreeRADIUS server on top of an Ubuntu host. RADIUS is used as an authentication server for users who connect and use a certain network service, such as VPN.
RADIUS is a networking protocol that provides Authentication, Authorization and Accounting (AAA). This means that the RADIUS server can authenticate the users (Authentication), can block users from accessing specific resources (Authorization) and can log all the login attempts and hold the user database (Accounting).
Install FreeRADIUS on Ubuntu
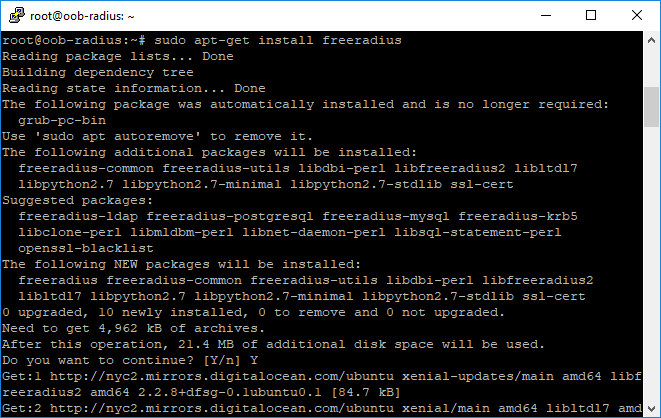
First things first, once logged in to the Ubuntu host, we can install Freeradius using the apt-get install command:
$ sudo apt-get install freeradius
Once the installation is finished, let’s verify that it was actually installed by running the command below:
$ freeradius –v
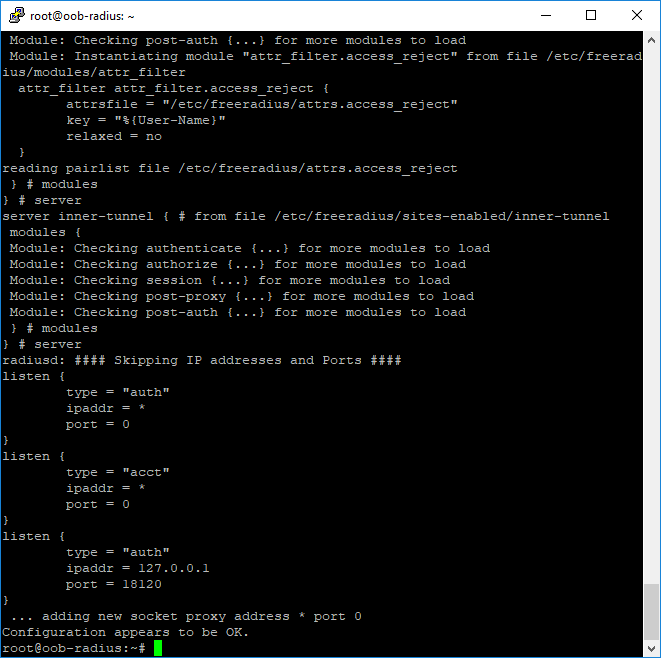
Afterwards, let’s run a quick configuration check:
$ sudo freeradius –CX
Now that it is installed and running, we will review the configuration and make any necessary changes.
The configuration file for Freeradius is located in /etc/freeradius, so let’s change our directory to that location and continue:
$ cd /etc/freeradius
$ sudo vi /etc/freeradius/radius.conf
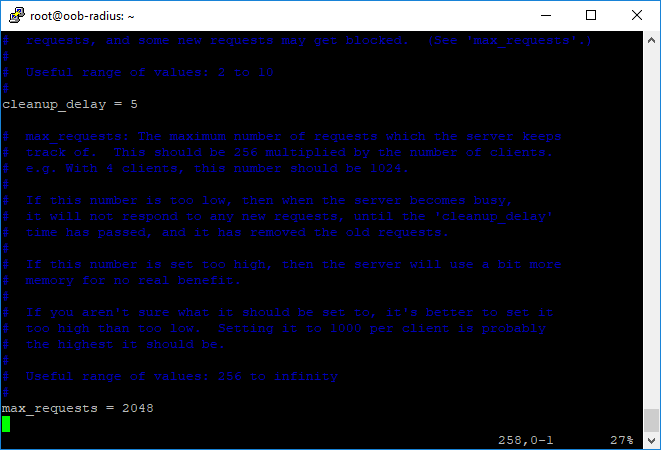
Let us increase the default value of max number of requests from 1024 to 2048, if we plan to have more than five clients connecting at the same time:
Next, we need to make sure that $INCLUDE clients.conf appears in the configuration file. You can put it on any non-commented line in the config file. The clients.conf file basically holds the list of all the services that will allow this server to authenticate the users.
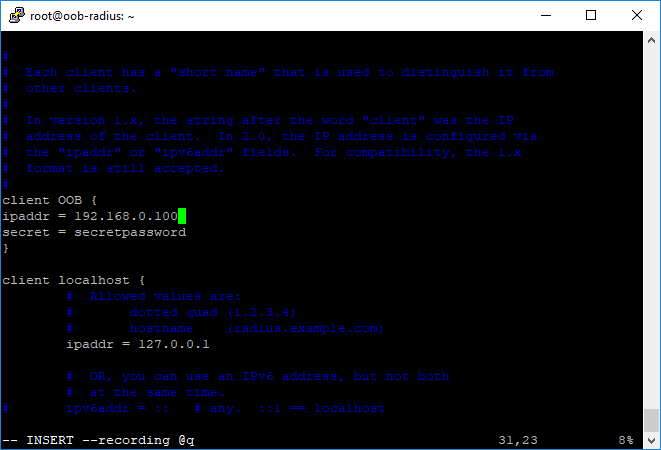
The next step is to add the clients (the devices that will use this RADIUS server to authenticate users):
$ vi /etc/freeradius/clients.conf

client OOB {
ipaddr = 192.168.0.10
secret = secretpassword
}
We created a new client called OOB and then put in the basic configuration, which includes the IP address of the client and the secret password that is used to secure the communication between the RADIUS server and the client device.
Now that we are done with that part, we will start adding users. We do that by editing the users file:
$ vi users
Then we add the following line:
sabrin Cleartext-Password := “Password”
Sabrin is the username followed by the type of password we want and the password itself.
Once that is done, we start the FreeRADIUS server using the command below:
$ service freeradius start
That’s it! Now you just need to configure your device with your Freeradius server and you are good to go! Enoy!


