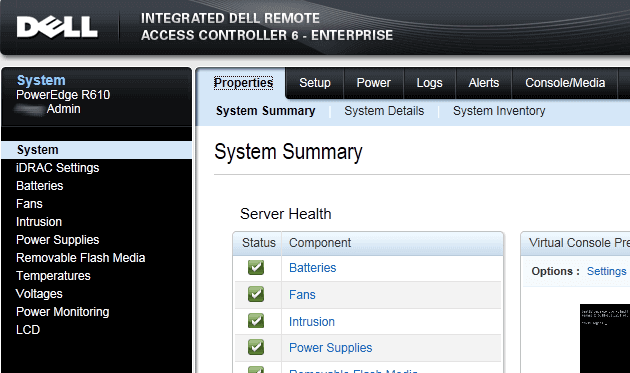
Normally you configure a Dell Remote Access Card (DRAC) when a server is initially commissioned. Once the card is set, administrators rarely if ever need to modify the settings. If you do need to change the settings, the server needs to be restarted so the DRAC BIOS can be modified, which obviously results in system downtime and requires a physical presence at the server console.
I had Dell onsite at one of my remote offices 150 miles away from me today. The tech replaced the DRAC, and once he verified the RAC service started on the Windows 2003 server he was out of there. No one onsite was technical enough to change the DRAC’s default IP address of 192.168.0.120 to a real IP on our subnet, so I had to change in via the Dell racadm command line tool.
Here’s how I changed the DRAC’s IP address:
The DRAC 4/P software is installed into the C:\Program Files\Dell\SysMgt\RAC4 directory by default, so I changed to this directory from a command prompt.
Next I used the racadm.exe utility to configure the DRAC’s TCP/IP settings:
racadm setniccfg -s 172.27.116.24 255.255.255.0 172.27.116.1
where
172.27.116.24 is the ip address I want assigned to the DRAC
255.255.255.0 is the DRAC’s subnet mask
172.27.116.1 is the default gateway used by the DRAC
That’s it! I was immediately able to browse to https://172.27.116.24 and login to the DRAC with the default account root and default password calvin. No server restart is required.


